How to Paint Plywood – Easy Step-by-Step Tutorial
This post may contain affiliate links. We may earn a small commission from purchases made through them, at no additional cost to you. You help to support resin-expert.com
In this tutorial, we will comprehensively take you through each step of the act of painting plywood for you to adapt to your specific trade. We will cover the best paints for plywood as well as the best plywood primer. You will learn how to sand plywood, the best methods for painting plywood edges, and even spray painting plywood.
Table of Contents
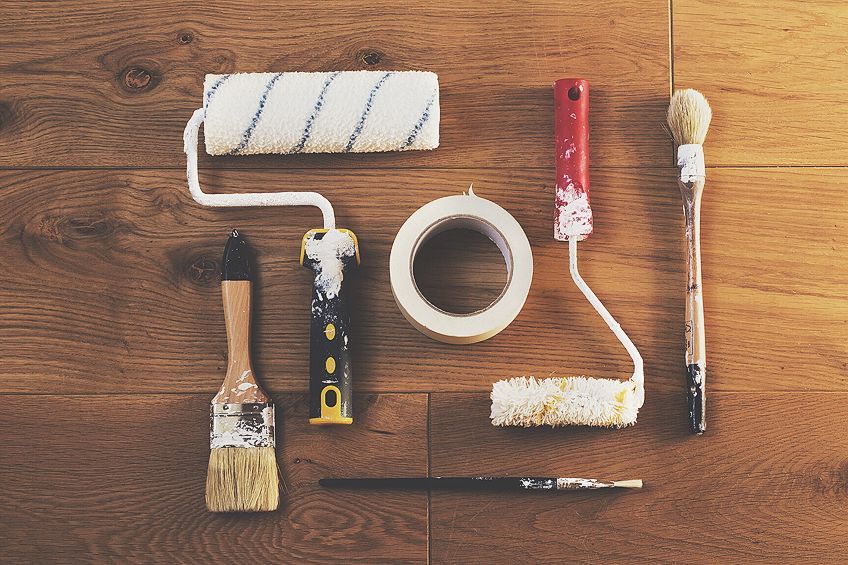
Instructions for How to Paint Plywood
If you are looking for paint recommendations and methods for painting, you can always surf the web for the millions of options there are available. But maybe that is how you got here in the first place, therefore, we shall humor you with our best techniques that are surely never to fail you!
Filling the Gaps
We have mentioned it before, but we shall reiterate it. You need to do some preparation work on your plywood before you start painting, or even priming for that matter. This applies to painting all types of wood, not just plywood. Your first step is to find the gas or little holes in the surface of your wood. Get some wood filler that either comes in a tube that you can squeeze, or in a tub that you must paste on with a paint scraper.
Fill these gaps in nicely, wait for it to dry for about 45 minutes, and then you start to move on to the next step.
Make it Edgeless
If you have taken the time to read an instructable tutorial on painting plywood, it means that this project means something to you. This means that all the efforts should be taken to make the end result, the best result. If you want a plywood project that looks and feels as if a professional team constructed your creation, the next best thing to do is to round the edges.

This means your creation will not have those sharp edges that often splinter and may cause harm. It also helps to protect your piece of plywood from any external damage. Sharp edges being chipped, rounded over time, and dulled in color is an inevitable demise of your plywood, which means you may as well do it from the start so you avoid making extra work for yourself.
Smoothing Out
In the obvious case, you are reading this because you want to paint the plywood in question, you will need to add a layer of joint compound before you paint and before you add the primer even. We understand how this can be seen as a surprise attack of extra effort but you will only appreciate the durability of your paint job when you are done.
In order to add the joint compound, you will need a putty knife or a paint scraper. Make sure that you are not adding too much at once, but also that you add enough for it to be evenly distributed over the surface area of the plywood, as well as the edges. In order to maintain an even feel and look with your plywood paint job, you should add some joint compound on every surface and edge of the plywood in question.
Once it is evenly distributed all over, you can move on to something else while you wait for it to dry. This should take about 24 hours.
Sanding Down
This next section covers the basics of how to sand plywood. This step is essential for the longevity of your plywood paint job. You might find it slightly laborious, but you have taken on a laborious job! There is an easier way for you to sand, using an orbital sander.
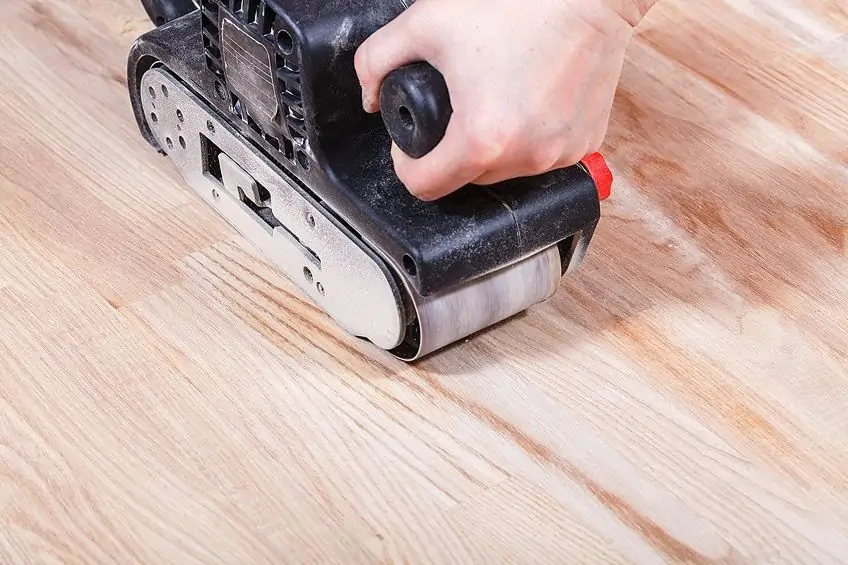
Hopefully, you were heavy-handed with the joint compound and now you can smooth it down so that it is even more even when you look at it. Sand away to get rid of any extra joint compound, and smooth out any bumps, nicks, or creases that may have formed. Now, for the method of sanding. Maybe, you are new to this trade, or maybe you are an experienced woodworker (in which case you will confirm what we have to say), regardless, you must always sand using circular motions from rough to fine grit sandpaper. This helps to avoid any visible strokes in your plywood’s surface which will hamper the even look and feel you’re trying to achieve.
Make sure that you are wearing enough protective gear, particularly so for your eyes and mouth. This is because the joint compound is very dusty when it is sanded down, so ensure you have a respiratory mask and an eye mask
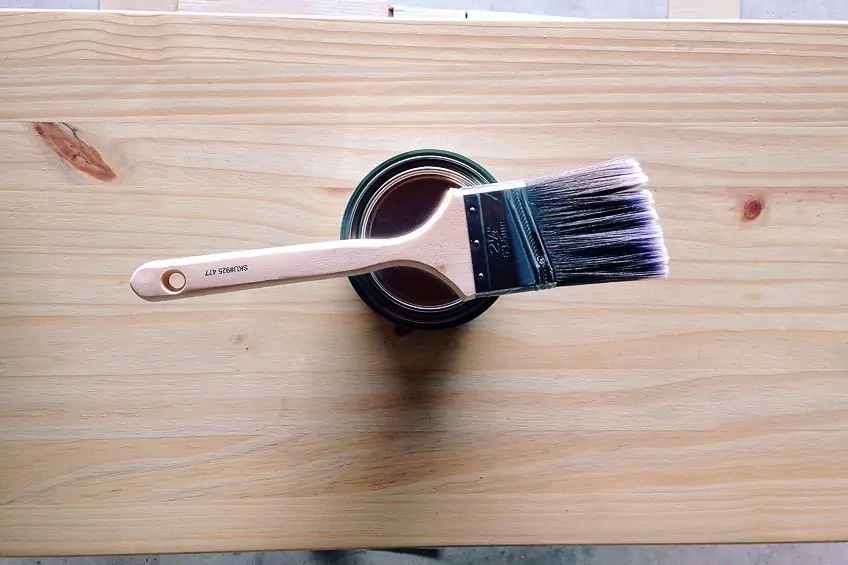
Adding the Primer
The previous step asked you to sand down the joint compound. You will find that that was an extremely messy job and now your plywood, and workshop are covered in dust. Before you can even think of the next step you must clean up from the previous step. A clean workshop is a happy workshop. Use a cloth and some mineral spirits to wipe up all of the dust from the sanding process. This will prevent any bumps formed in the primer.
Once you are satisfied with the cleaning, and that all the dust particles are no longer in the way, you can begin with the priming of your plywood. The priming makes spray-painting plywood or just painting plywood last ten times longer. You have the option to apply the primer with a brush, but if the surface area is large enough to require one, a roller will do just fine. But, you will need to use a brush when it comes to the edges and corners of the plywood you are painting. Spray painting plywood can also be done with a primer, and these can even come in the form of a high-power spray gun. These can be avoided because it is not 1005 necessary and they can be quite costly.
If you do choose to use a high-powered electric spray, then here is how to do it. Fill up the spray with the primer in question. When you start spraying, make sure you use long and even strokes with the nozzle, making sure it is not too close to the plywood you are painting. One coat of primer is not enough, and you should aim for at least two layers, remembering to sand the plywood between each layer. This will prevent any dust that may have decided to settle on your plywood board inconveniently.
As always, make sure that you are protected when working with paints. Some of them contain some nasty chemicals that can give you a headache if you breathe them in too much. A respiratory mask, some gloves, and an eye mask will be sufficient protection for you.
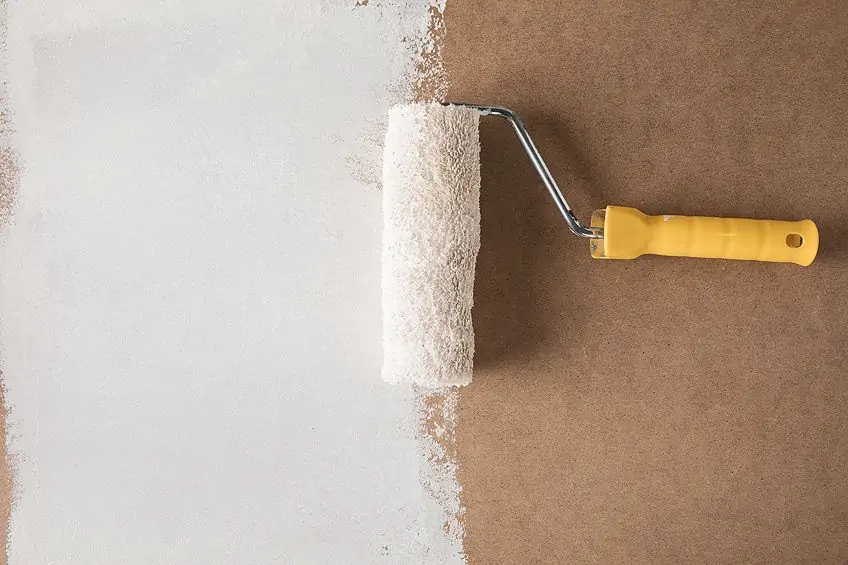
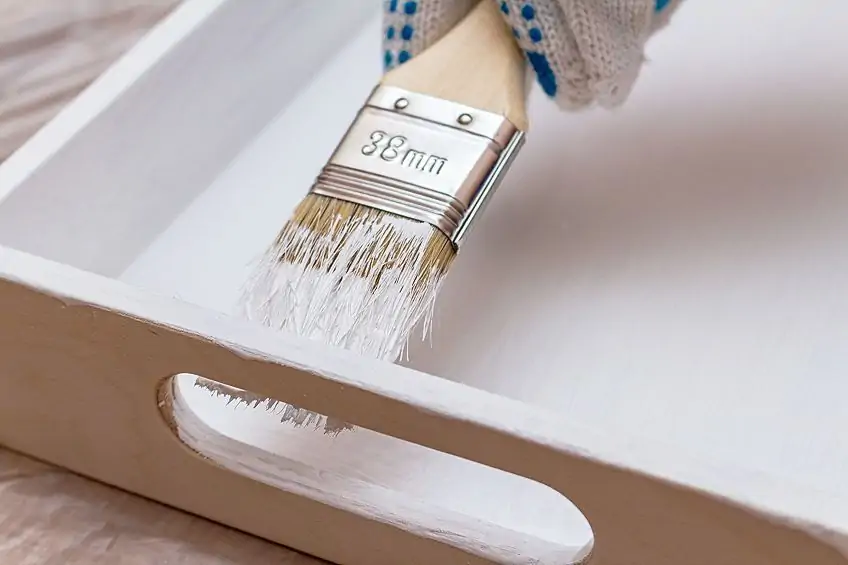
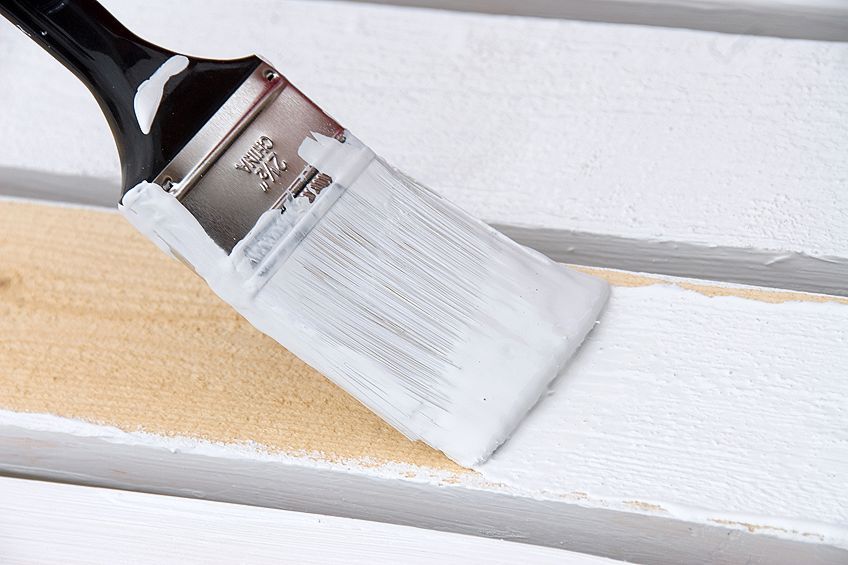
Finally, you can Paint!
You are finally here, at the final step of your project. You might be wanting to paint with either a brush or a roller, depending on the size of the surface area of the plywood in question. But, spray painting plywood is also possible and will save you a bunch of time. Before you actually begin to paint, you must do one last final wipe down of the plywood to make sure that all the dust particles left over from the sanding process have been wiped away. These dust particles are a massive pain in the butt because they will hamper the beautiful smooth finish that you are trying to achieve, ruining the even texture.
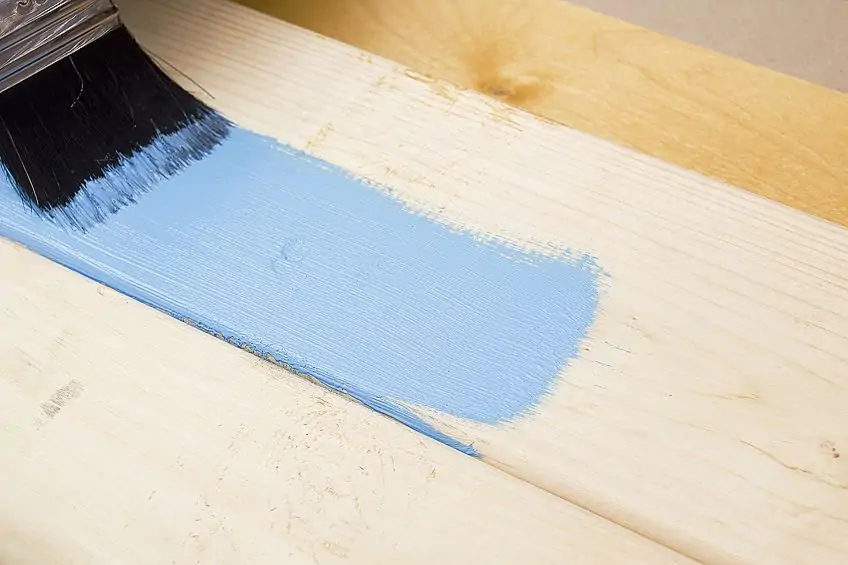
Using a paint sprayer or just painting in the conventional sense, is not far off from the methods to paint normal or harder woods. Make sure that you do not apply too much with your brush otherwise, you will see visible brush strokes once the paint has dried – we do not want that. If you are spray painting with a power spray tool, you will want to make sure you are not spraying too close to the plywood or you will get drip marks from the excessive paint. Drips can also be avoided by making sure you hold the trigger of the spray gun securely and you do drop it whilst painting.
When you are finished with one layer, it is recommended to add another coat. Before you do this, however, you must wait for the first coat to be dried. You can find the recommended drying time for the paint on the label.
Is Painting Plywood Challenging?
If you ever spent time with your grandparents in their workshop, be it a sewing room, or a workshed filled with tools and torches, you might remember how it was set up and ready for whatever task was needed. This was because they are clever enough to pack up their previous task in such a way that their workspace was ready and waiting for when they wanted to start again. Ultimately, we are hinting that you should do this because you will save yourself a considerable amount of time when you want to start because setting up your workspace will take so much longer. Get out all the necessary tools you will need for this painting expedition and let us get cracking, you are well on your way to having painted plywood properly for the first time!
If you have painted plywood before then you might agree with us that the wood is softer than most. Painting plywood is not far off from painting wood which is harder. A bit of preparation is needed, which means your first question should not be how to paint plywood or spray painting plywood, but rather how to sand plywood. This is because it is a necessary prerequisite to not finish plywood. The primers, paints, and finishes have some intense chemicals in their formulas so it is always advisable to keep the windows open for ventilation.
Maybe you are longing for glossy finish plywood, but somehow you’ve convinced yourself that that is only possible for professionals to achieve. Fret no more! That is negative thinking and we are here to set the record straight! This tutorial is not only teaching you how to paint on plywood but also how to paint on plywood professionally. This is not such a hard job, it just takes some time and the after-glow of your masterpiece makes it seem like it is trickier than it is.
This all sounds like a lot of work that you might not have been expecting, but all the preparation is not so challenging, but it might be time-consuming. Regardless, you will appreciate all the efforts you have made when you finish plywood painting and you get to admire your handiwork.
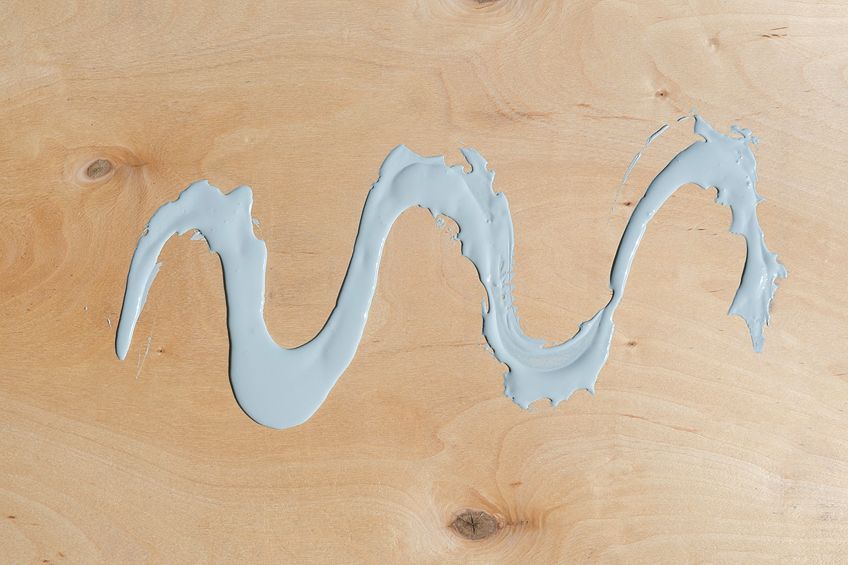
What Type of Paint to Use for Plywood??
Style is relative. There may not be such a thing as originality anymore, but uniqueness is still a thing for sure! Trends come and go, in fashion and design, but they always manage to make their return. These things tend to make a full cycle. This means that when it comes to choosing the paint when painting plywood, it depends on what style you are looking for, as well as using the best paint for plywood, respectively or what you want out of your paint job.
Plywood is quite soft wood because it is made of many layers that are glued together. This means that water does not agree with it, so water-based paints are not recommended – the same goes for lead-based paints. We have compiled a list of the different paints that are compatible with plywood, but regardless of the paint you use, painted plywood will have a certain look once dried.
| Different Paints | Usage |
| Enamel paint | Doors, walls on the inside, tables, ceiling beams |
| Oil-based paint | Doors, Shelves, chest of drawers, cupboards, ceiling beams |
| Latex paint | Cupboards, chest of drawers, doors, shelves |
| Acrylic paint | Walls, doors, shelves, beams |
Plywood is very absorbent, which means that paints that are more prone to stain are more likely to be more compatible with plywood. This doesn’t mean the paint should be water-based, because plywood is made of thin layers of wood that are glued together. This means the consistency of your paint should be at a medium level. The H2O in water-based paints will just break down the glue and your plywood board will disintegrate. This knowledge will come easier the more you work with paints but we will discuss some of the best paints for plywood in the next section.
Your next consideration of what paint to use should also be influenced by how much the plywood piece will be used. Are you painting a table that people use every day? Is it going to be an interior paint job or exterior? Weather is mightily influential. You must also consider preparing the plywood first so that your paint job lasts a bit longer.
Do You Need to Use Primer on Plywood?
With every job that must be done, there is an element of… preparation. We got you there! Although, Mary Poppings did have the right mind to it. Preparing your plywood for painting is often seen as tedious and boring – we are all too excited for the end result. But, trust us when we say that priming your plywood board or piece of furniture is essential for the longevity of your paint job. You will not regret the extra work when you are finished.
The nature of plywood, as we mentioned before, is that it is made of lots of thin layers of veneer and then compared and glued together. This makes it at risk of liquid spills or rainy weather. A layer of primer will help to keep the absorbent qualities of the plywood at bay and less impervious to swelling. You can avoid this as well by getting better quality plywood like a marine-grade option. If you choose to skip the priming step, thinking that the paint will absorb nicely without it, then you are sorely mistaken. This Actually not a benefit, but rather the downfall of your paint job. The initial layer of a plywood primer is what ensures the longevity and durability of your plywood. A layer of primer is also necessary when you are painting plywood edges, and not just the surface area.
What Type of Plywood is Best for Painting?
Birch plywood and MDF stand out for their smooth surfaces and minimal wood grain, making them versatile choices for various painting applications. However, other options like oak and maple plywood are suitable when a visible wood grain is desired.
| Plywood Type | Surface Smoothness | Wood Grain Appearance | Best Use Cases | Preparation Required |
|---|---|---|---|---|
| Birch Plywood | Very Smooth | Minimal to None | Fine art, furniture, cabinetry, decorative panels | Light sanding, primer, and surface smoothing |
| Maple Plywood | Smooth | Minimal to None | High-end cabinetry, furniture, detailed projects | Light sanding, primer, and surface smoothing |
| Oak Plywood | Smooth to Moderate | Visible | Furniture, decorative elements | Light sanding, primer, and grain filling for smooth finish |
| Pine Plywood | Smooth to Moderate | Visible | General woodworking, budget-friendly projects | Light sanding, primer, and grain filling for smooth finish |
Keep in mind that the choice of plywood for painting depends on your specific project and aesthetic preferences. Birch plywood and MDF are often top choices due to their excellent surface smoothness and minimal wood grain appearance, making them suitable for a wide range of painting applications. However, for projects where a visible wood grain is desired, options like oak and maple plywood may be more appropriate.
Regardless of the plywood type, proper preparation is key to achieving a high-quality painted finish. This typically includes light sanding to smooth any imperfections, applying a suitable primer, and ensuring the surface is clean and well-prepared before painting.
We hope that our comprehensive article all about how to paint plywood has given you the know-how and confidence to tackle any project! If in doubt, just consult our products lists for both paints and primers at any time. Remember to have fun and good luck with your painting!
How to Paint Plywood
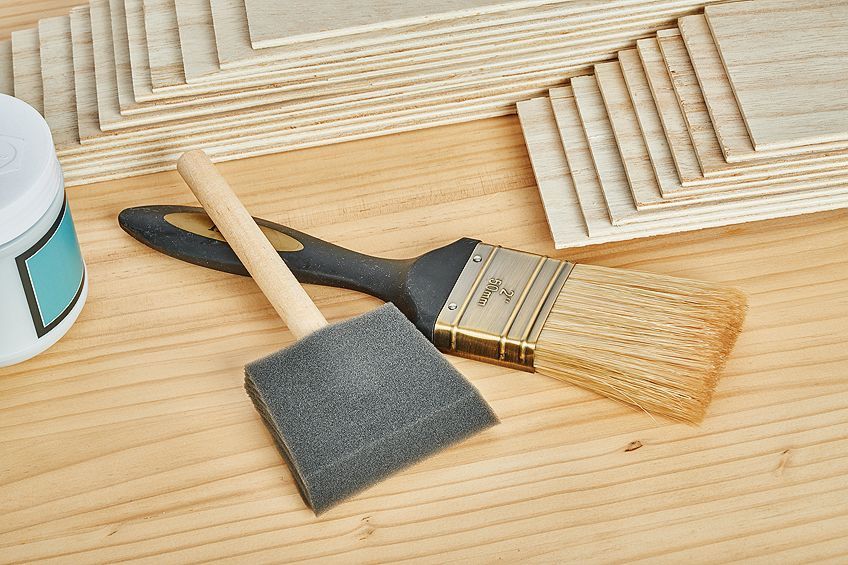
Materials
- 1 piece plywood
- 1 piece wood filler
- 1 piece sandpaper
- 1 piece wood primer
- 1 piece paintbrush
- 1 can acrylic paint
Instructions
- Filling the Gaps
- Make it Edgeless
- Smoothing Out
- Sanding Down
- Adding the Primer
- Finally, you can Paint!
Frequently Asked Questions
Will Plywood be Waterproof if I Paint It?
Plywood is essentially many layers of veneer that are glued together. This makes the need for waterproofing your plywood in high demand. This might not be 100% waterproofing, but a layer of latex paint or even enamel paint might make the plywood more impervious to water absorption. This is especially helpful with the edges of your plywood board which is more exposed to damage and liquids. These paints also provide some heat protection along with water resistance qualities.
What Plywood Is the Best to Paint?
Hardwood veneer plywood will be the most optimal plywood to paint. This is because it will allow the primer and the paint to adhere to its surface.
Does Plywood Need Sealing Before Painting?
This will depend entirely on what the plywood will be used for once it has been painted. Painting for an indoor piece of walling will require a sealer less than an exterior project. However, if you are looking for a longer-lasting and far more durable paint job that will require less touch-ups, then a sealer is definitely worth it.