How to Paint a Bike – Guide on How to Repaint a Bike Frame
This post may contain affiliate links. We may earn a small commission from purchases made through them, at no additional cost to you. You help to support resin-expert.com
If you want to revamp your old bike, you can have the bike painted or paint it yourself. For this, you have several options to choose from. Airbrushing has proven to be a good and practical method for this. How it works and what you have to consider, you will learn here in this guide. We also give you step-by-step instructions on how to paint your bike yourself.
Table of Contents
Reasons for Painting a Bike
There are various reasons as to why a bicycle should be painted. Often, the bike no longer looks nice due to scratches or peeling paint, but is still functional, so it would be a shame to dispose of the bike. Perhaps the bike is also associated with special memories and emotions, but now looks old-fashioned over the years. For some, bike painting also represents a creative hobby. Often, a child’s bicycle is passed on among siblings or acquaintances and needs a colorful makeover for this purpose.
To apply paint to a bicycle yourself, all you need is a little skill, patience, and the right tools.
What Materials Are Needed to Repaint a Bicycle?
If you want to give your bike a new coat of paint, you will of course need paint. But there are a some other materials that will also come in handy when painting a bike. These include the tools needed to dismantle and prepare the bike before it gets painted.
Preparation
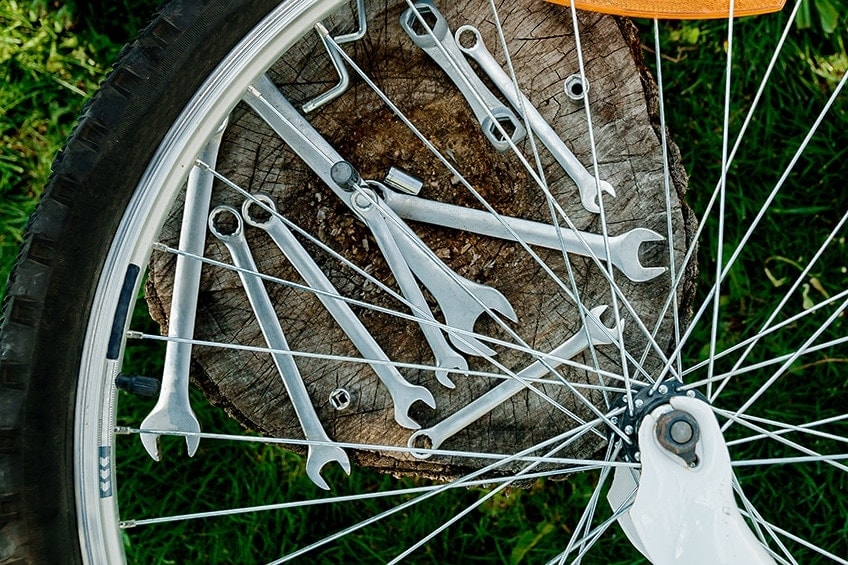
Before you can apply paint to your bike, you must first disassemble it as far as possible into its individual parts and sand them down. Special tools are needed to disassemble the parts. You may already have the necessary screwdrivers and wrenches, otherwise these tools can be purchased at any hardware store or ordered online.
To sand the old paint off the bike, you will need sandpaper. You may find that some paints cannot simply be sanded away, and must instead be removed chemically. In this case, you would require a paint stripper such as this environmentally friendly option by Dumond, called Smart Strip Advanced Paint Remover.
It is not only important to thoroughly remove the old paint, but also to get all the parts to be painted free of grease. A degreaser can be used for this purpose. White spirits are particularly suitable for this purpose, but you can also use a glass cleaner.
You will also need masking tape to protect the parts of the bike that should not be painted. To protect the surrounding area from the paint mist, you can use a large sheet of painter’s tape as a base.
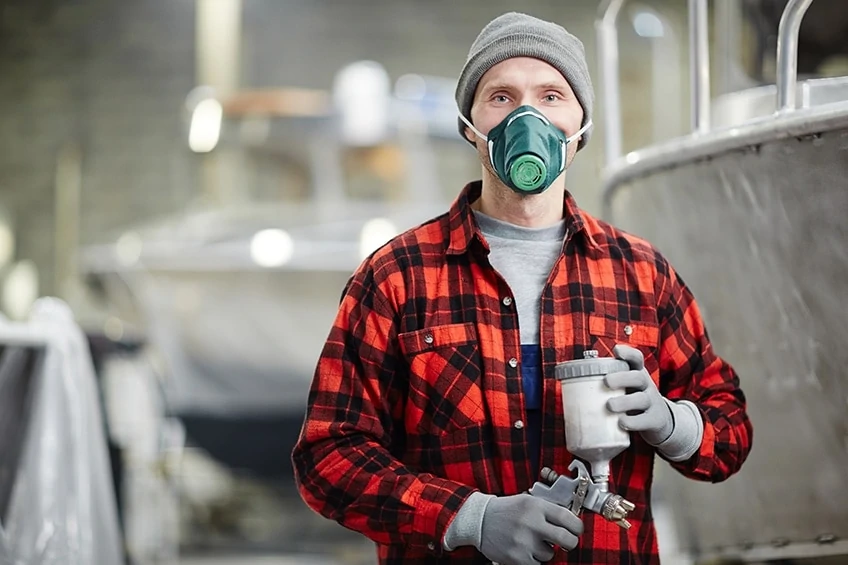
In order not to endanger health, you should also wear a protective mask, safety goggles, as well as disposable gloves when bicycle painting. A protective suit can also be worn if necessary, so that the clothes do not get any paint on them.
Suitable Bike Paint
Any paint that adheres to metal is suitable for painting bicycle frames. There are special paints for painting bicycles, but car paints can also be used, for example. The choice of paint is dependent on whether the bike is to be matte or glossy. You can find out what the paint looks like after drying on the paint cans, where the color is declared as either “matte” or “glossy”.
You should always use a high-quality paint. In addition, you should limit yourself to only one paint manufacturer, otherwise there could be unsightly reactions between the different paints.
Bike Spray Paint
To create the most uniform paint application possible, you paint your bicycle with bike spray paint. The spray can contains the paint solution in the chosen color and has a spray head attached. Once the paint has been thoroughly shaken up, you can start applying the paint directly.
If you use a spray can to paint your bike, be sure to maintain the proper distance between the bike frame and the spray head. You should also spray a few thin layers of the paint instead of focusing on area, as this will prevent a nose from forming.
For an optimal spray pattern, you should always hold the spray can vertically during spraying. Before taking a break, turn the spray can upside-down and hold the sprayer down until no more paint comes out. Doing this will prevent the spray head from sticking.
If possible, the spray can should not be sprayed completely empty, because the last sprays usually lead to speckles and an uneven spray pattern. To avoid messy spots, you should therefore rather use a new paint can a little earlier.
Airbrush Bike Painting
To paint the bike with an airbrush gun, you will need a suitable compressor in addition to the airbrush gun, as well as a diluted paint, which is accordingly easy to atomize. While you do get pre-thinned paints specifically for use with an airbrush, these paints are unlikely to be durable enough for your bicycle. Thus, you will need a paint thinner in order to dilute and thin your desired paints.
Make sure that the airbrush gun is suitable for processing paints. For this, it must have an appropriately sized nozzle and the seals must be solvent-resistant. The compressor should have a working pressure of 1.5 to 3 bar.
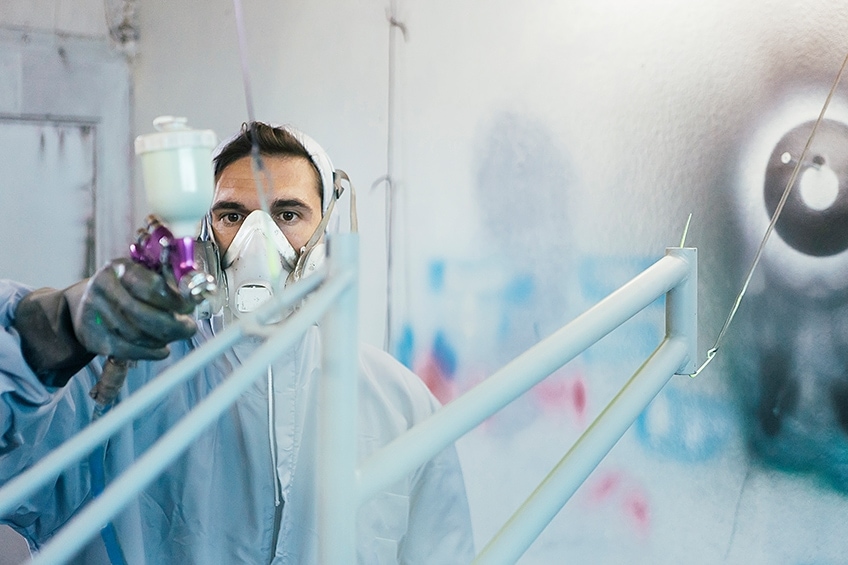
As with spray painting bicycle frames, the paint must be applied evenly when airbrushing. An airbrush will spray a very fine mist of paint, which means that several layers are needed in order to get the perfect finish. In addition, the spray distance from the bicycle frame should be about 25 cm, so that the risk of paint noses is kept to a minimum.
A major advantage of painting bicycle frames with an airbrush gun is that the colors can be mixed yourself, allowing you to create individual color tones. With spray cans, on the other hand, the colors are already prefabricated. However, airbrushes do require you to dilute and thin your paints before use. We recommend using only paints and paint thinners from the same brand. This is especially pertinent when mixing colors, as using different paint brands can cause lumping and other unsightly effects.
Airbrushing is not only suitable for painting the bike in a color, but it can also be used to create beautiful works of art. Due to the unlimited choice of colors and with the help of airbrush stencils, various motifs can be also applied to the bicycle frame.
Step-by-Step Guide on How to Paint a Bike
With the following instructions, we will show you how to paint your bike yourself.
Prepare the Workspace
For painting, the place that is chosen should be well ventilated, dust-free, and have a space where the bike can dry for several hours. A garage is usually the ideal place for this project. In winter, however, care should be taken to ensure that the place of work is not too cold, as many paints are not suitable for processing at very low temperatures.
Lay out the work surface widely with painter’s foil so that the surroundings are protected from the paint mist. This will also allow you to quickly find the small dismantled parts of the bike.
Disassemble the Bike
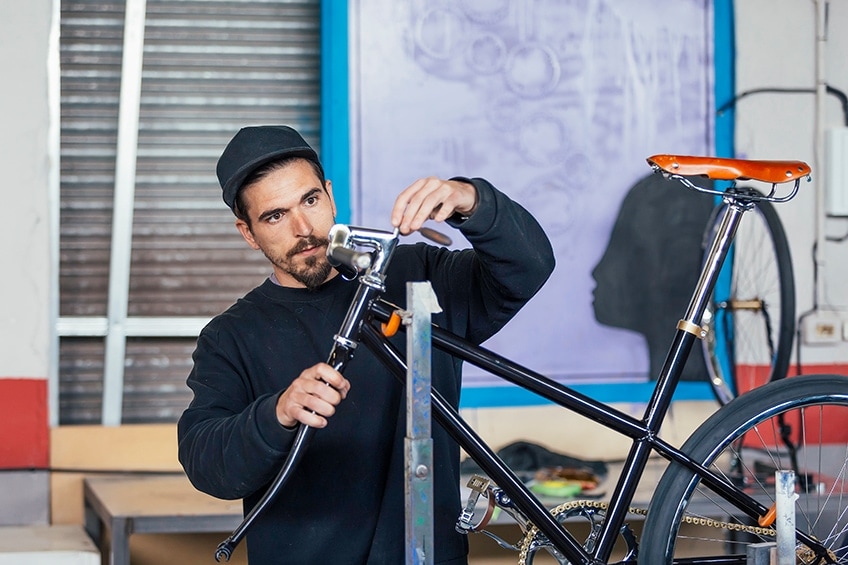
Before you can start painting the bike, you need to completely disassemble it. Preferably to the point that only the bicycle frame remains.
Attachments such as luggage racks or bottle cages can be removed very easily. The wheels, the saddle, the handlebars, the cranks of the bottom bracket, as well as the chain and brake can also be easily dismantled most of the time. If you are unable to mount individual parts, you can also tape them off.
It is best to pack the small parts after dismantling in labeled plastic bags or boxes so that you do not lose them and can then mount them again.

Sand the Old Paint
Now remove all stickers. If you cannot remove the stickers with ease, you can opt to heat them by using a heat gun or hairdryer, which will then loosen the adhesive and allow the stickers to be removed. If you cannot do this with your fingers, you can use a spatula.
The next step is to sand off the old paint. For this, you can use a fine piece of sandpaper with a 320 or 500 grit. We recommend that you wet sand the paint in order to prevent sanding dust. In the end, the old paint, while not completely removed, must be sanded to a matte finish.
Sanding takes a lot of effort, but it is a necessary job. If you do not want to sand by hand, you can use a sanding machine or choose the chemical alternative in the form of stripping. However, stripping is usually associated with a lot of dirt and, in addition, the stripped paint belongs in hazardous waste.
Degrease the Substrate
To ensure that the paint adheres optimally to the substrate, it should be degreased. White spirits or a glass cleaner will be suitable for this purpose. It is important to ensure that all areas that you plan to paint are completely free of any grease or residues. Unevenness and small scratches should be evened out with special equipment.
Masking
All areas of the bike not to be painted must be masked. You should also remember to tape off all holes and threads or seal them with screws so that they do not stick together or get covered by the paint. Masking can be done with masking tape, foil, or tape.
Primer and Paint
It is recommended to hang up the bicycle frame so that you can easily reach all parts of the bike. This allows you to work on the frame from all sides. To do this, simply hang the bike frame from the ceiling by threading a rope through the main tube. If you have no possibility to hang the bicycle frame, you can also use a bicycle mounting rack. Alternatively, you can put a broomstick through the main tube, which will be attached to a table.
Before you start painting, remember to put on your protective clothing (goggles, gloves, respirator).
Primer
While some paints are both a primer and paint all in one, many others will require the application of a primer before painting, as this will improve the paint’s adhesion to the bike’s metal surface. A primer is also useful if a light color is to be applied on top of a dark color, as the white primer supports the color brilliance of the new color. A good primer to use is the Rust-Oleum brand’s Stops Rust Spray Paint, which not only acts as a primer but also prevents rust from forming on the bicycle’s metal frame.
Bicycle Painting
Now it’s time for the actual painting of the bicycle frame. If you are using a ready-to-spray spray can, you should shake it up thoroughly before starting work so that an optimum color result is achieved.
If you are using an airbrush gun, the next step is to mix your paint color and thin it out according to the product manufacturer’s directions, ensuring that the paint has been diluted enough for use in an airbrush. You can then pour the diluted paint into the airbrush gun canister.
Both the spray can and the airbrush gun should be moved evenly over the surface to be painted. The distance between you and the bicycle frame must remain the same in order to achieve an even coat. In addition, you should never spray too long on one spot, otherwise unsightly paint noses may form.
It is best to apply several coats of paint until the old paint is nowhere to be seen. Let the paint dry for about 15 to 30 minutes between coats.
Beautify the Bike
Once the paint is completely dry, you can choose to embellish your bike as you wish.
Those already utilizing their airbrush gun can then use it to apply a motif or customized lettering. Even if you used a spray can to apply the paint, you can still further design the bike with an airbrush gun.
Of course, you can also apply decals to the bike frame. This is quite simple and is usually done with a transfer film.

Apply a Clear Coat
To make the new paint weatherproof and protect it from scratches, it is advisable to apply clear lacquer as a sealant. For an optimum result, two to three coats of clearcoat should be applied. We suggest you use Rust-Oleum’s Automotive Acrylic Lacquer Spray, which will leave behind a durable, glossy, and crystal-clear finish.
Particular care must be taken when applying the clear coat, as it runs quickly and tends to form a nose. If a nose has formed, wait until the lacquer has dried and then carefully sand the nose with fine sandpaper. Then apply the next coat to compensate for the defect. Do not wipe away the runny varnish with a rag, as this will only make it worse. Allow the clear coat to dry for at least 24 hours.
Assemble and Repair the Bike
Leave the new coat of paint and sealer to dry completely for a minimum of 24 hours. Do not touch or move the frame during this time. It should also be protected from dust as much as possible. Once both the paint and sealer have cured, you can remove the masking tape and fully reassemble the bike.
Now, if necessary, you can give the bike new color-matched handlebar grips, a new saddle, or even fancy new tires to complete the look.
Tip: This is also the ideal opportunity to replace worn out parts or to make necessary repairs.
Using a Professional vs. Painting a Bike Yourself
As you can see, a lot of work is involved when painting a bike, although it is a rewarding process that is certainly worth it in the end! Some people may be more inclined to hire a professional to do the job for them, but this can be expensive. At the end of the day, it is up to you as to whether you want to repaint a bicycle yourself or hire someone to do it for you.
Professional Bike Painting
Having your bike painted by a professional is usually associated with high costs and is therefore hardly worthwhile for an old bike. The costs vary widely and are usually dependent on the model to be painted as well as the effort involved. A professional bicycle painting offers the following advantages and disadvantages.
PROS
- Professional bike painting saves a lot of time, as they will be able to sand, paint, disassemble, and reassemble your bicycle expertly.
- A professional paint coating will be much more robust than a self-applied paint.
CONS
- As a rule, there is little scope for individuality or creativity in professional painting. Usually, only the color can be selected. Lettering, patterns, or motifs either cannot be applied or are associated with high additional costs.
Painting a Bike Yourself
While painting a bike on your own can seem to be a daunting task, it is highly cost-effective and rewarding to those that are up to the challenge. Doing the paint job yourself will not only save you money, but it also allows for unlimited room for creativity and personalization when repainting a bicycle.
PROS
- If the bike is painted yourself, there are no limits to the individual design.
- This variant is also considerably cheaper than professional bicycle painting. In most cases, one can of paint is sufficient to paint the entire bicycle frame. Spray paints, which are suitable for painting bicycles, are also readily available at affordable prices.
CONS
- The big disadvantage of painting a bike yourself is the time and effort it takes.
We hope that we’ve helped you with achieving your bike repaint job. If you want to spice up a bike, but do not own one, you can even rummage around at a flea market in the area. It is easy to find an old bike for a little money that you can then customize!