How to Paint a Bathtub – Easily Refinishing Your Old Tub
This post may contain affiliate links. We may earn a small commission from purchases made through them, at no additional cost to you. You help to support resin-expert.com
Bathtubs can be made from metal and ceramic. They can also be painted, and just like any other painted surface, the paint can degrade over time. Thankfully, bathtubs can be repainted fairly easily, so let’s have a look at how to paint a bathtub and what you will need in order to get the job done!
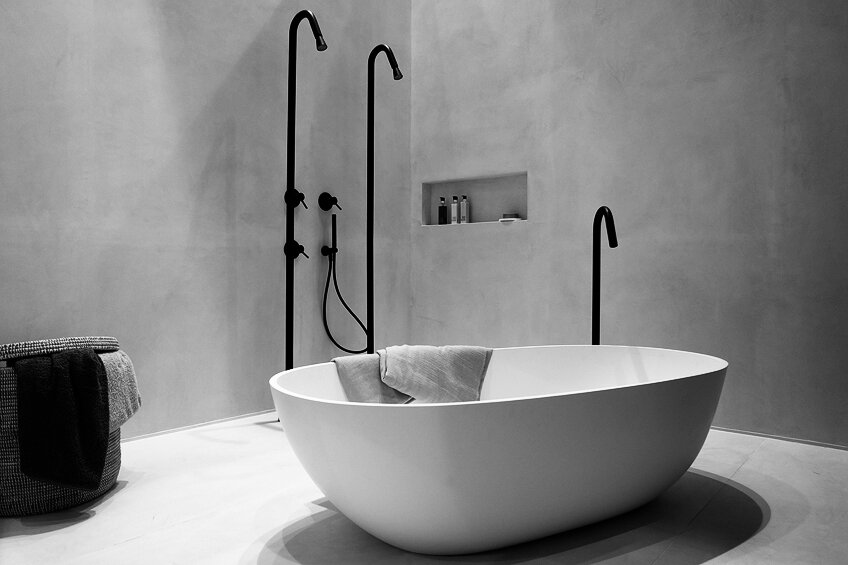
Table of Contents
Key Takeaways
- Painting a bathtub is cheaper than buying a new one.
- You can refinish and paint a bathtub, even if you are a beginner.
- Sanding and priming are key to making sure the new paint adheres to the surface.
- There are bathtub refinishing kits which contain everything you need.
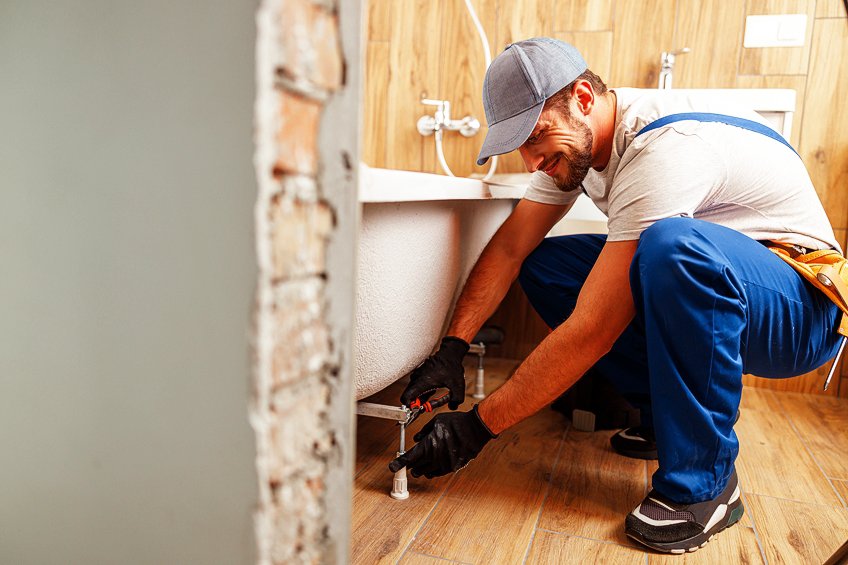
How to Paint a Bathtub
Painting a bathtub might seem like a fairly daunting task but in reality, it’s quite easy. Below we’ve detailed what you will need and what the best way to go about it is. Ensure that you have properly prepared your workspace and that you are wearing the appropriate personal protective gear before you begin to paint your bathtub.
Gather the Things You Will Need
When painting a bathtub it’s important to gather all the things you’ll need. Painting a bathtub is not a complicated task, but having all of your tools ready to go and ensuring you have everything you need to get the job done can save you a lot of time, effort, and running around. Here is everything you will need when attempting to refinish a bathtub.
- Abrasive cleaner
- Caulk removal tool
- Acetone
- Tub repair product
- Fine grit sandpaper
- Bathtub repair epoxy kit
- Bathtub refinishing kit
- Paint rollers
- Caulk
- Caulk gun
- Painter’s tape
- Putty knife
Abrasive Cleaner
You will need a strong compound to ensure that the existing finish is removed from your bathtub. Abrasive cleaner is the best way to remove coatings of this nature, so be sure to get enough for the size of your bathtub and that the strength of your cleaner is conducive to the type of coating present on the interior of your bathtub.
Caulk Removal Tool
Bathtubs are usually caulked to ensure that water doesn’t leak between the edge of the tub and the wall it comes into contact with. This means that the tub will have to be removed from the area it is stationed in using a caulk removal tool. These tools are readily available and can be found at most home improvement stores.
Acetone
Acetone is an excellent cleaner that should allow you to clean the inside and outside of your tub with relative ease. Acetone can be found at most stores and is relatively inexpensive, and while it does make for an excellent cleaner you should ensure your workspace is well-ventilated so ensure the fumes don’t accumulate while you work.
Tub Repair Product
If your tub has taken on some damage over the years, you will need to repair said damage after the tub has been thoroughly cleaned. Tub repair product kits can also be found at most home improvement stores and even some convenience stores depending on their size.
Tub repair kits can vary considerably in quality so be sure to check out consumer reviews before committing to a purchase.
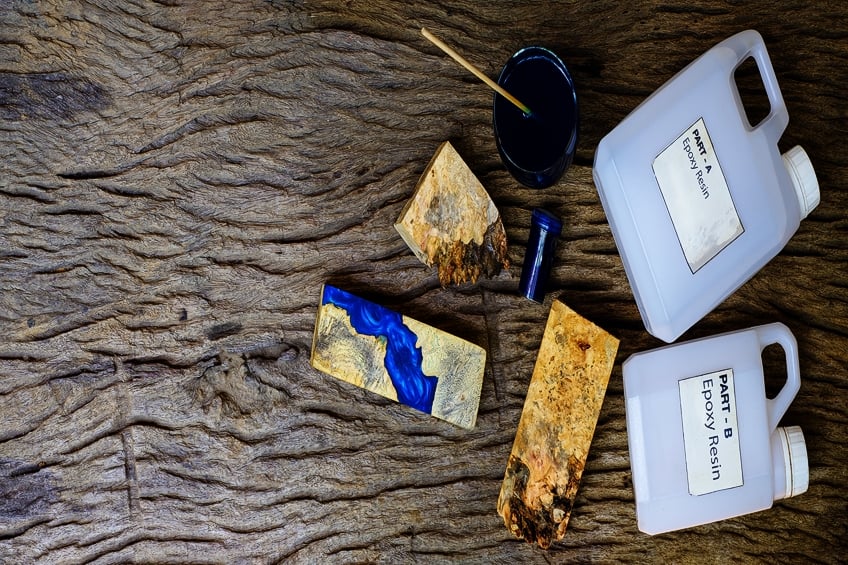
Bathtub Epoxy Refinishing Kit
Just like the tub repair kit, you will need this kit to ensure you have a refinishing kit as well. Once the tub has been cleaned and repaired you will need to apply the outer coating as well. These kits are readily available and fairly easy to use even for first-time users. Be sure to choose one that is the correct size for the type of tub you have.
600-Grit Wet and Dry Sandpaper
While you will need to remove the existing coating from the tub you don’t want to rough up the surface too badly. For this reason, a 600-grit sandpaper is ideal too for the job, considering that it is capable of removing the existing coating all while ensuring that the surface is nice and smooth before the new coating has been applied.
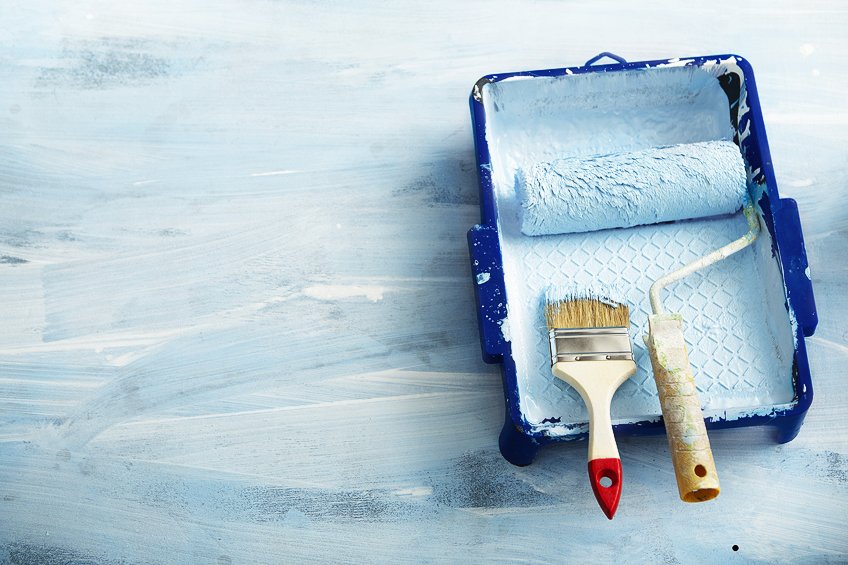
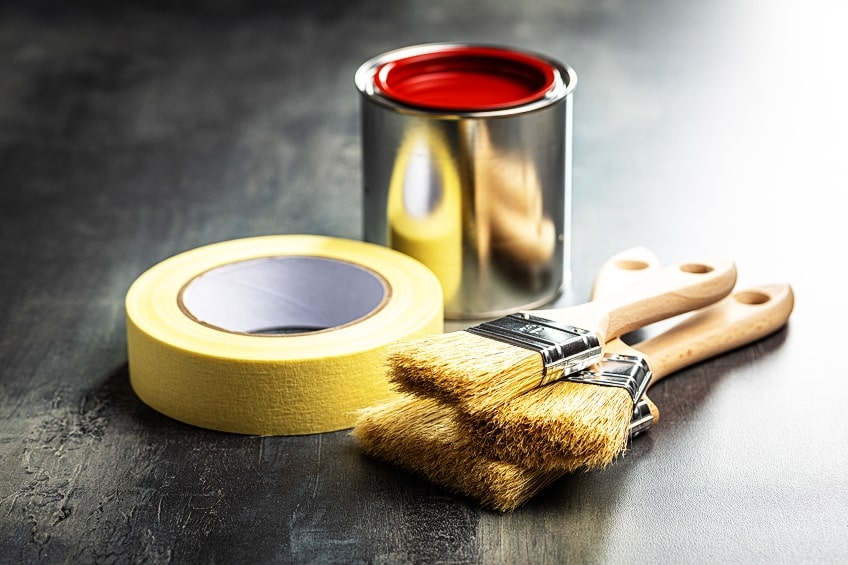
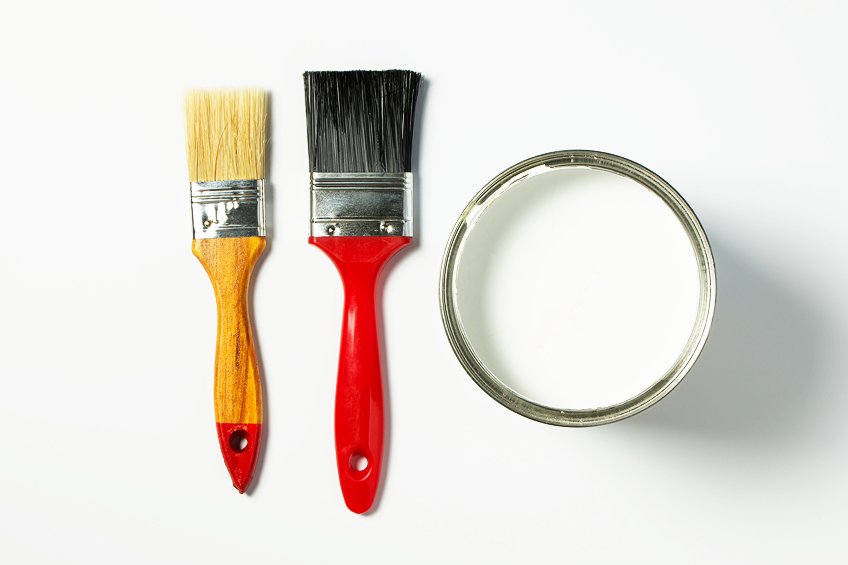
Paint Rollers and Brushes
Aside from the various cleaners and kits you will need something to apply your paint. While brushes can be used to cut in finer areas of the tub you will need a paint roller to apply paint to the bulk of the area. You should be able to use a small to medium-sized roller to paint the surface of your bathtub and be sure to use a foam roller to properly distribute your paint.
Caulking Gun
When the old caulk has been removed you will need to be replaced. The best way to apply caulk, especially in corners where the bathtub meets a wall, is to ensure the surface is sealed. Caulking guns are easy to come by and generally aren’t too expensive, so be sure to pick up a decent one before you begin resurfacing the bathtub.
Caulk
You will need caulk for the caulk gun of course. There are many caulk types for you to choose from, but since you will be resurfacing a bathtub it’s best to use caulk capable of repelling water, heat, steam, mold, and any other force it could encounter while in place.
The more robust the caulk, the more expensive it tends to be so keep this in mind.
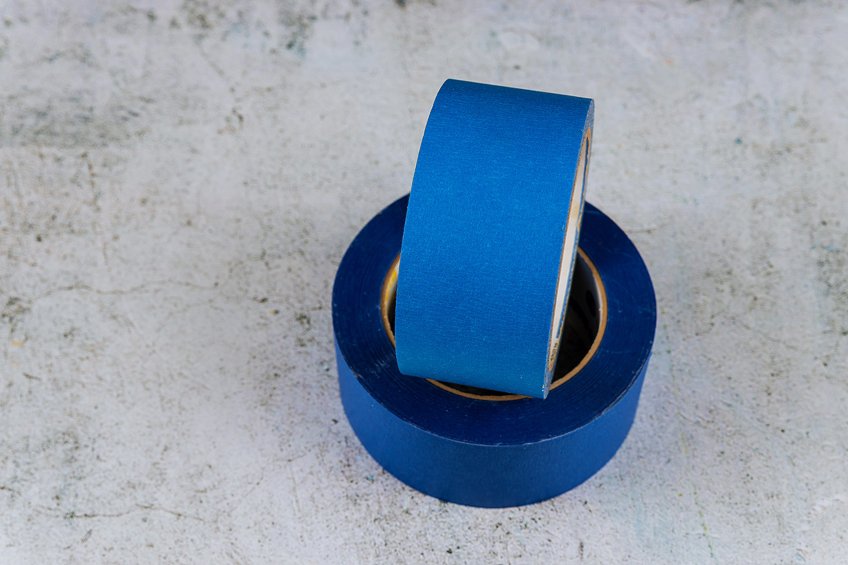
Painter’s Tape
Before the bathtub can be painted you will need to ensure that the surfaces surrounding the bathtub are protected as well. One of the best ways to do this is to use some painter’s tape between the bathtub and the wall, or anywhere else you wouldn’t like paint to accidentally get on. Paint tape is available in different widths and colors for your convenience.
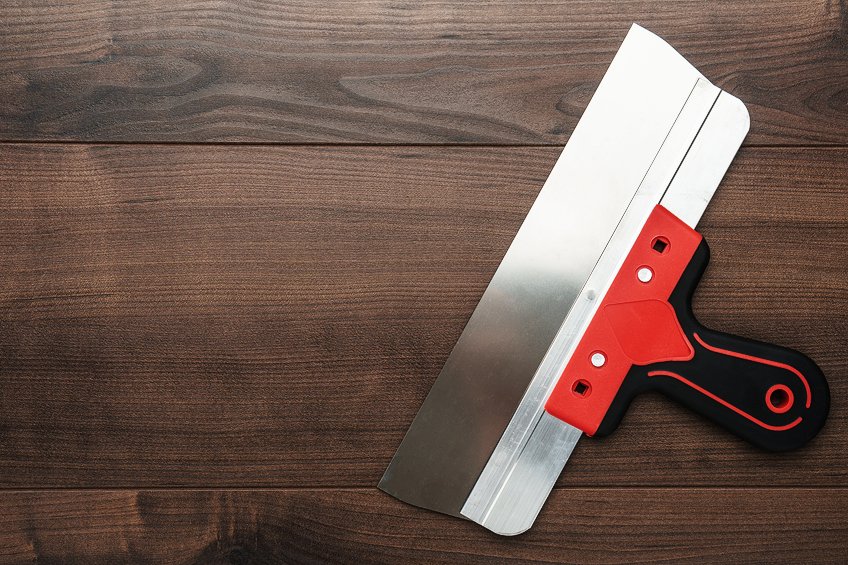
Putty Knife
Once your caulk has been applied to the surface of your bathtub you will need to remove any excess and smooth the caulk out. The best way to do this is by using a dedicated putty knife capable of perfectly tackling the 90-degree angles the caulk has been applied in.
Be sure to get one capable of working from multiple angles so you are sorted for future projects.
Prepare Your Bathtub
You will need to prepare your bathtub before it can be refinished. This is a simple process and shouldn’t take too much of your time. For the preparation process, you will need all of your cleaning and repair products that we mentioned previously, and the personal protective gear we mentioned to ensure your safety.

Remove the Existing Caulk and Surrounding Fixtures
Before the new coating can be applied you will need to remove the old coating and anything else that may obstruct you from doing so. This means removing the old caulk along with fixtures like train traps and plug holders.
Drain traps are usually removable by hand, but it doesn’t hurt to have a Phillips head screwdriver on hand just in case it’s stubborn.
To remove your existing caulk, you can make use of your caulk removal tool or a putty knife to get between the caulk and the surface it’s attached to. This can take some elbow grease, but it shouldn’t be too difficult considering that once you get your putty knife underneath one section you should be able to pull the entire strip of caulk away at once.
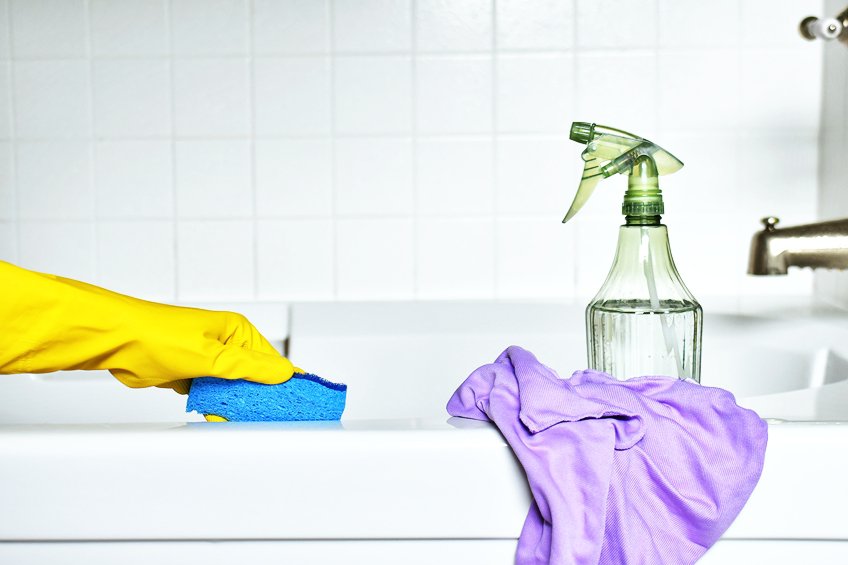
Clean the Tub and Any Other Surfaces You Intend to Paint
The surface of your bath will need to be cleaned before the paint can be applied. To ensure that the surface is as clean as possible, use acetone and a conventional cleaner to remove existing soap scum, mildew, mold, and other particles that have built up on the surface of your bath over time. Begin with the acetone, but ensure that you have adequate ventilation and airflow both in and out of your workspace.
Acetone should remove most of the stubborn marks on your bathtub interior. The best way to use it is by getting some on a clean cloth and scrubbing the affected area. Once the acetone has evaporated nicely, you could try a combination of bleach and water (add 10% of bleach to a full container of water) to remove any remaining stains.
If you have some stains that still refuse to budge, use the abrasive cleaner, and be sure to follow the instructions as directed on the packaging for bathtub surfaces. Scrub the affected areas thoroughly until they are all clean and then give the bath another once over with acetone to ensure that any lingering grime is removed. Allow the area to ventilate once you are done.
Repair the Surface of Your Bathtub (If Necessary)
Your surface should be clean at this point. Your next step is to use your tub repair kit to patch and seal any cracks and holes present on the surface of your tub. Using your putty knife and the bathtub repair kit you purchased. You should be able to use your kit and putty knife to fill in the cracks and any other blemishes present on the surface of your bathtub.
Once the cracks have been filled use your putty knife to remove any excess filler that may be sticking out of the areas you have filled. Once the excess has been removed you can pack your repair kit away and grab your sandpaper. It’s time to sand the surface of your bathtub in order to prepare it for the priming and painting part of this process.
We recommend you start off with 400-grit sandpaper to rough up the surface of your tub well. Be sure to tackle the areas you have filled as well and ensure that as much of the old surface coating has been removed. If you have to work in sections from the center of the bath outward toward the edges then feel free to do so. Once the surface is roughed up, grab your 600-grit sandpaper.
Once the surface has been thoroughly sanded and smoothed down wash, the tub with some water to remove any particles that might have been generated during the sanding process. Once the sanding process has been completed you can move on to the priming process unless you have adhesive-enhancing substances you would like to use as well.
Cover Any Sections You Don’t Want Getting Painted
If you have sections of your workpiece or other surfaces that you don’t want to paint on them, we recommend you cover them with some painter’s tape. This includes any part of the bath that you don’t want to be painted and any surrounding objects. Don’t forget to lay down a tarp or some old newspaper on your floor and secure it with some painter’s tape too.
If you have any stencils or designs, you would like to lay out using said painters’ tape this would be the time to do so. Once the surface has been primed you don’t have an awful lot of time before the paint needs to be applied. Additionally, if you have another layer you want to add to increase surface friction inside the tub, you should do so before any prime has been applied.
Prime Your Bathtub
While you might be excited to paint your bathtub, it’s best to apply primer instead of applying paint directly to the surface. Why is a primer so important? Essentially, primer is a substance that is applied to the surface of a workpiece before paint is applied. Why? Primer allows the paint to adhere far better than if it were applied directly to the surface.
Aside from increasing the adhesion strength of the paint, primer also ensures that your finish looks even once it has been applied.
How does it do this, you ask? Primer prevents the paint from saturating the surface in more porous areas and just sitting on the surface in others. Instead, paint is evenly distributed, having a similar effect to a base coat with the added benefit of increased adhesion. How do you prime a bathtub though? Well, priming a bathtub and painting one is practically the same. Start by shaking the container of primer a bit and then pouring out some into your painter tray. Next, grab your brush, get some paint on it, and cut in any corners of the path that you cannot reach with your roller.

Once the hard-to-reach areas have been primed, dip your roller into your primer until half of the applicator has been submerged. Next, roller the applicator on the ram until the primer has been evenly spread around the roller and remove any excess primer. Finally, begin to apply your primer to the surface of your bathtub.
Start at one edge of the tub, paint downward following the dip, and then work your way up the incline until you reach the other end. Don’t forget to prime the interior sides of the tub as well, and repeat this process until all the surfaces you intend to paint have been covered.
Once you are done, allow the primer to set as recommended on the packaging by the manufacturer.
Applying Paint to Your Bathtub
Painting the surface of your bathtub is practically the same as applying primer. Give the paint container a good shake and pour some out into your painter’s tray. Before you begin painting the primary surface, get some paint on your brush and cut in the edges of your bathtub, and paint some of the hard-to-reach places. Once these areas have been painted, it’s time to tackle the primary surface. Dip your roller applicator into the paint until half of it has been submerged. Next, roll the applicator on the ramp of the tray until the paint has been evenly distributed across the roller and excess paint has been removed. Next, begin painting the bulk of the surface.
As you did when priming the surface, start at one end of the tub and follow the dip into the bowl and up the curve until you reach the opposing end. Don’t forget to paint the interior sides of the tub as well, and repeat this process until the entire tub has been painted.
Once you have completely painted the tub, allow the new paint to dry.
Additional coats may be applied once the initial coat has been allowed to dry for a bit. Once all of your coats have been applied, allow the paint to dry and cure completely before attempting to fill the bath with water. Most professionals recommend allowing your paint to dry for three days before use, and you may speed up the drying process by using a dehumidifier or simply increasing the airflow in and out of the room.
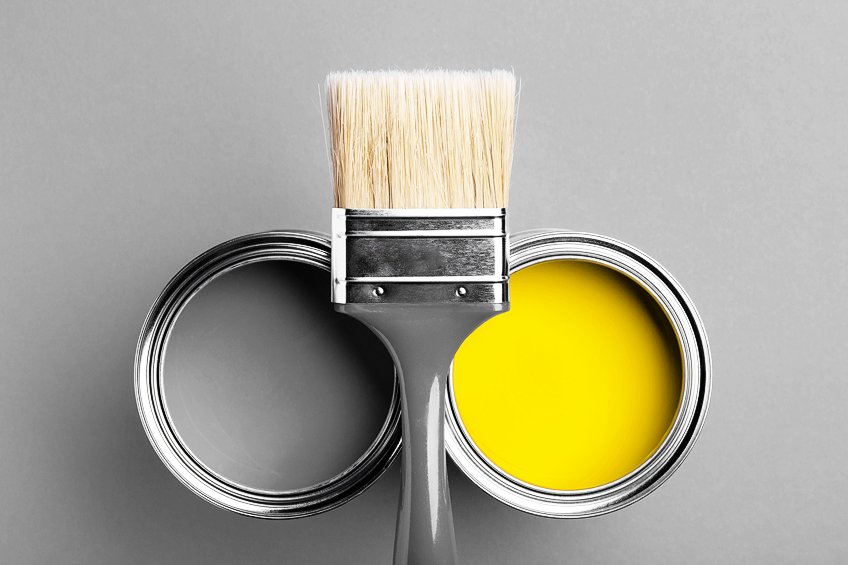
What Types of Paint to Use for a Bathtub
There are a few paint types that you can use to paint your bathtub, each of which has its respective pros and cons. Choosing bathtub paint depends on your personal preference and the texture you would like the interior of your bathtub to have, and what your bathtub is made of. Here are the options most professionals tend to lean toward.
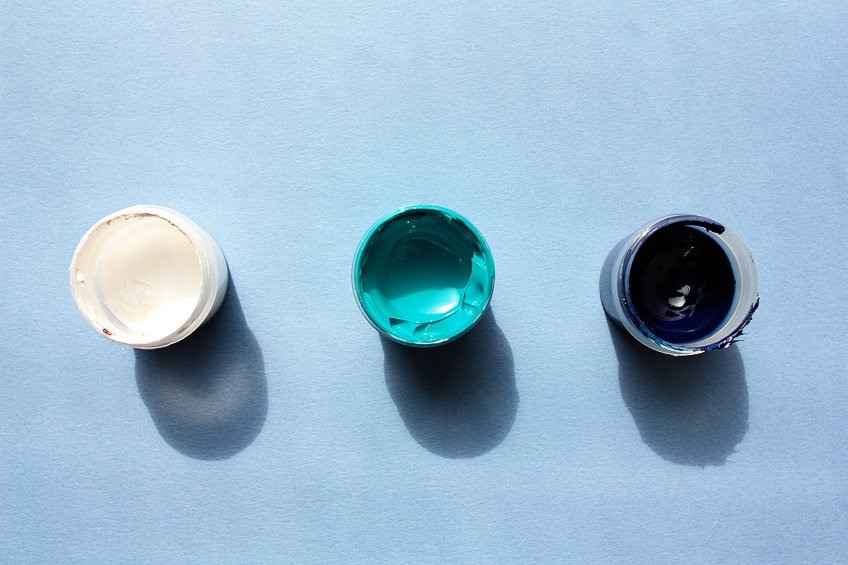
Acrylic-Latex Paint
Acrylic latex paints are durable and capable of withstanding consistent contact with water at high viscosity, making for a good bathtub paint. Acrylic latex paints are available in many colors, often providing a somewhat muted tone and texture.
Acrylic-latex paints are readily available, and they provide you with increased surface friction when used on the surface of bathtubs.
Oil-Based Paint
If you have an older metal bathtub the best paint for the job is an oil-based paint. Oil-based paints provide a rich, almost sheen color and tone, but they must be used with an oil-based primer. Oil-based paints don’t get very good coverage, and they tend to be more expensive than acrylic latex paints.However, this might be a worthwhile compromise for the color quality depending on your preference.
Latex-Based Paint
You will need a very high-quality latex-based paint to use in the interior of a bathtub. It will need to be a waterproof latex-based paint and it will need to be extremely durable as well. Acrylic paint is better for the environment as it does not contain any VOCs (volatile organic chemicals), but high-quality latex-based paint can also be quite expensive.
Latex-based paint does get excellent coverage though, and produces light, almost glossy colors.
Why Should You Paint Your Bathtub?
While many people paint walls and ceilings, painting bathtubs is a less common practice. While it’s easy to see the benefits of painting these other surfaces, the benefits of painting a bathtub may be less obvious. This is why we have prepared a couple of reasons why you might want to consider repainting your bathtub.
You Cannot Get the Tub Clean
If you find you cannot get your tub clean no matter how hard you scrub the surface it could mean that it’s time for you to resurface and/or repaint it. This usually happens when the dirt and grime have become ingrained into the surface of the tub beneath the paint.
You will have to give the tub a thorough cleaning before it can be repainted though.
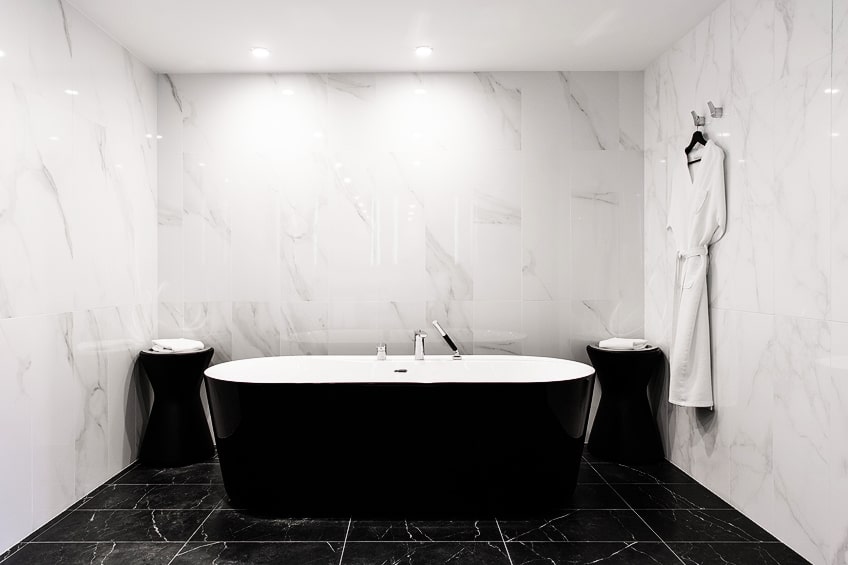
The Tub Has Lost Its Gloss
When bathtubs are fresh, they typically have a healthy sheen finish to them. This helps repel water when the water has drained from the tub, and it also happens to look good. If your tub has lost this sheen finish it could be a sign that it needs to be repainted, but be sure that it had a sheen finish to begin with in case you go through all the effort of repainting it for no reason.
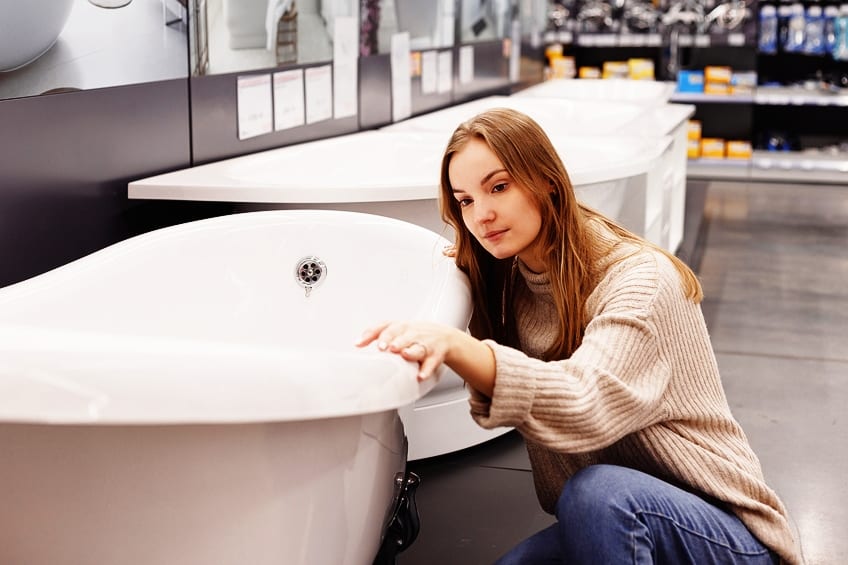
It Can Save a Lot of Money
Repainting your bathtub could potentially save you a lot of money. After all, getting your bathtub resurfaced by professionals could be very expensive, and replacing said bathtub could end up costing double what it would to resurface it.
Therefore, if you would like to save some money, surfacing your bathtub on your own might be a good idea.
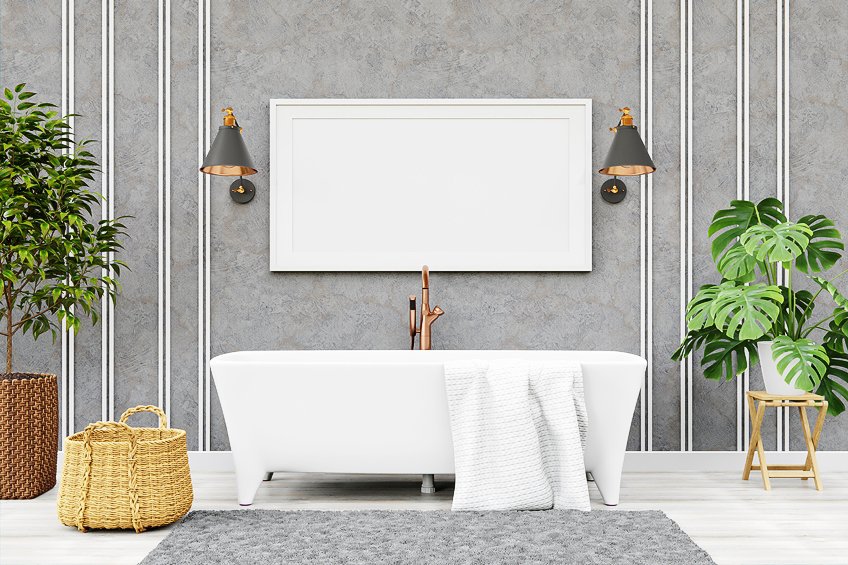
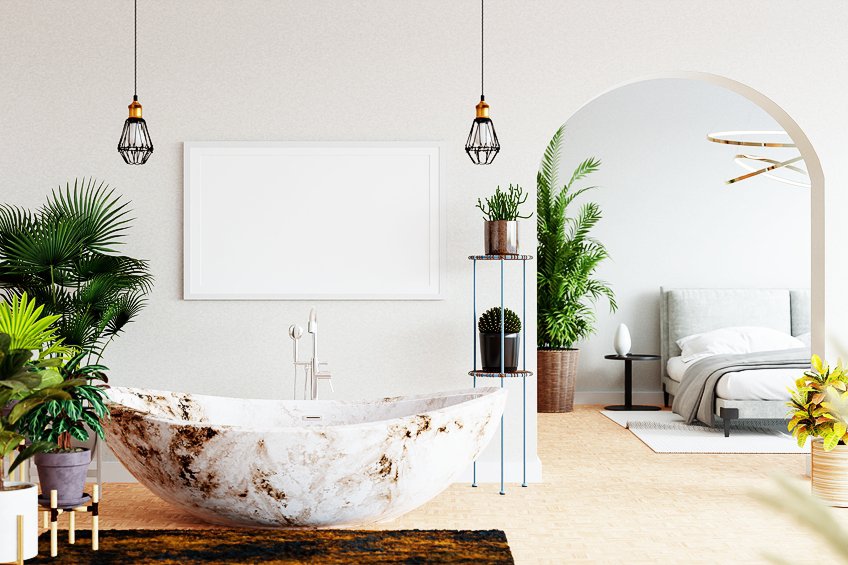
It Allows You to Modernize Your Tub
Bathtubs are usually installed when houses are built, and they’re rarely replaced unless a major renovation has taken place. This means that your bathtub might not fit the aesthetic of your home, especially if you have gone through the trouble of modernizing the rest of your home. A fresh coat of paint should bring your tub into the 21st century, and at minimal cost too.
It Can Affect the Structural Integrity of the Tub
Bathtubs are lined to ensure that the material they are made of does not degrade over time. Once this lining has faded away, this could result in cracks forming in the structure of the bath. Removing the existing coating will allow you to assess, repair, and resurface the bathtub to prevent any further structural damage from occurring.
As you can see, there is a lot to do when attempting to refinish a bathtub. Ensuring you have the correct tools and that you know what you would like your tub to look like beforehand can save you a lot of time and effort down the line. If you are going to refinish a bathtub on your own, always ensure that have enough paint for the size of your tub and that your paint is durable enough for the application.

How to Paint a Bathtub
Equipment
- Abrasive cleaner
- Caulk removal tool
- Acetone
- Tub repair product
- Fine grit sandpaper
- Bathtub repair epoxy kit
- Bathtub refinishing kit
- Paint rollers
- Caulk
- Caulk gun
- Painter’s tape
- Putty knife
Instructions
- You will need to prepare your bathtub before it can be refinished.
- Remove the Existing Caulk and Surrounding Fixtures. This means removing the old caulk along with fixtures like train traps and plug holders.
- Clean the Tub and Any Other Surfaces You Intend to Paint
- Repair the Surface of Your Bathtub (If Necessary)
- Cover Any Sections You Don’t Want Getting Painted
- Prime Your Bathtub. Grab your brush, get some paint on it, and cut in any corners of the path that you cannot reach with your roller.
- Once the bathtub has been primed it’s time to paint it.
- Let the paint dry for at least 2 days before using it (see also the paints manual)
Frequently Asked Questions
Can You Paint a Bathtub?
If you can paint a sink and toilet, can you paint a bathtub? Yes, it is entirely possible to paint a bathtub. Virtually any tub can be painted using acrylic-based paints or any other paint type, as long as the surface has been prepared correctly and is capable of withstanding constant contact with water.
What Is the Best Paint for Bathtub Interiors?
There are many paint types that can be used for the interior of a bathtub. The best paint for bathtub interiors is acrylic-based paints, as they are capable of withstanding a wide variety of forces and are durable enough to last a long time in this setting.
Is It a Good Idea to Paint Your Bathtub?
Painting your bathtub has a number of benefits. If you do it on your own, you save quite a bit of money, and you have the advantage of learning a new skill and choosing exactly what color and texture you would like your bathtub to be.