Epoxy Putty Stick – Step-by-Step Instructions and Guide
This post may contain affiliate links. We may earn a small commission from purchases made through them, at no additional cost to you. You help to support resin-expert.com
Do you need to carry out a quick repair that has to withstand high loads? You do not know exactly which material to use for it? Try Epoxy Putty. In our Epoxy Putty Stick guide, we will tell you what properties this material has, whether Epoxy Putty Stick is heat-resistant and how you can best process Epoxy Putty Sticks.
Table of Contents
What is Epoxy Putty Stick?
Epoxy Putty Stick, also called metal plasticine or adhesive metal, is an exceptionally firmly adhering plasticine based on epoxy resin. Epoxy Putty Stick is based on the same two-component system as epoxy. The curing reaction is, therefore, started when the two components resin and hardener are mixed together. However, this system does not require any effort on the part of the user, as the adhesive metal is supplied in a practical roll. Mixing is done solely by kneading the compound.
With this material, minor damage can be permanently repaired. Epoxy Putty Stick does not obtain its reputation for nothing: it can be modeled and is therefore unbelievably flexible; when hardened, it is about as hard as steel. It even sets on damp surfaces or underwater.
The curing process takes only a few minutes for many products. If you have repaired cracks or damaged areas with the help of the metal plasticine, you can further process, paint and sand them. Since Epoxy Putty Stick can be applied to various surfaces, it is suitable for a wide range of work. It offers many advantages not only for industrial processing but also for the do-it-yourselfer.
Best Epoxy Putty Stick
Epoxy Putty Stick is available for various applications, we have compared the most popular Epoxy Putty Stick products:
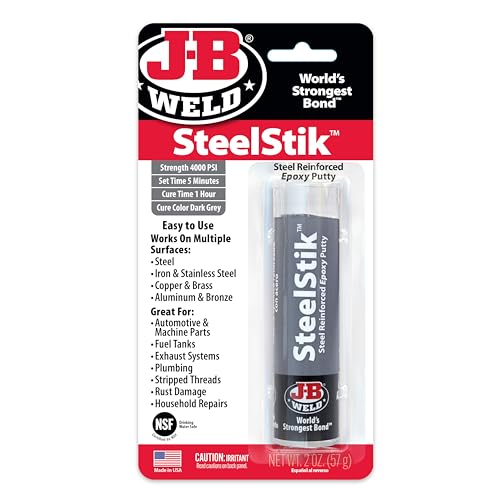
- Two-part epoxy putty reinforced with steel particles for lasting repairs
- The epoxy takes only 5 minutes to set and cures within an hour
- This epoxy can be molded, shaped, sanded, drilled, and tapped
Advantages and disadvantages of Epoxy Putty Stick
PROS
- Epoxy Putty Stick Hardens quickly
- Small damages can not only be repaired quickly and effectively, but also permanently
- It is heat resistant and electrically insulating
- Very flexible and in principle suitable for almost all repair work
- Further machining is possible after hardening
- After the hardening process the Epoxy Putty Stick can be painted and ground
- Cures without problems even underwater
- High resistance to chemicals, oils and mechanical stress
CONS
- Epoxy Putty Stick is relatively expensive
- Care should be taken with floating materials, because a hardening compound can lead to hairline cracks under various environmental influences
- During processing, you should always pay attention to your safety, as some ingredients are potentially harmful to health – therefore always wear gloves
However, you should not be deterred by the relatively high costs. If you consider that with the help of Epoxy Putty Stick you can also repair expensive components in a stable way, the price of this two-component wrought mass is put into perspective.
Which materials can be bonded with adhesive metal?
As the hardening process of the cold metal is based on the two-component principle, it can be used to bond all conceivable materials together. Not only plastics, glass, glass fiber, ceramics, and wood, but also concrete, steel, and metal can be permanently bonded together with the help of Epoxy Putty Stick.
Processing of cold metal – Instructions
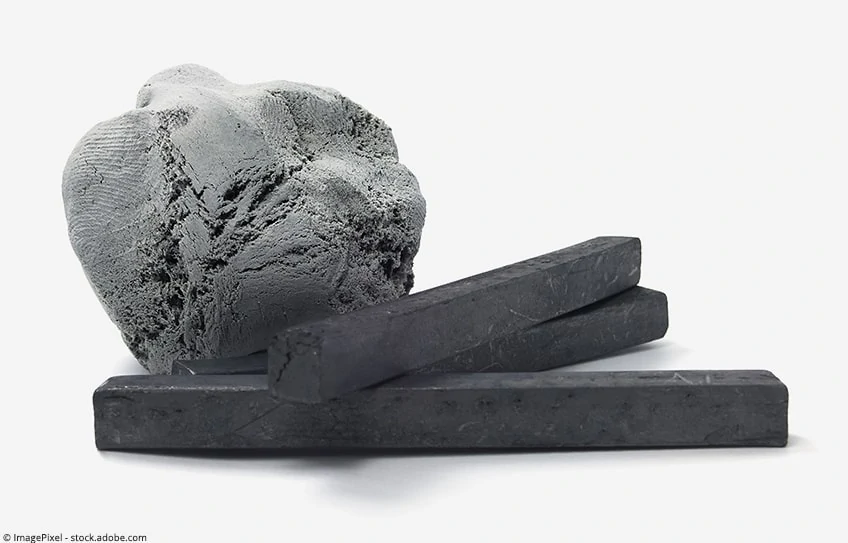
If the Epoxy Putty Stick is supplied in a roll, use a sharp blade, such as a carpet knife, to separate the desired amount from it. You will now see that the outer edge of the roll is grey, while the inside is black – these are the two components that need to be joined together to start a reaction.
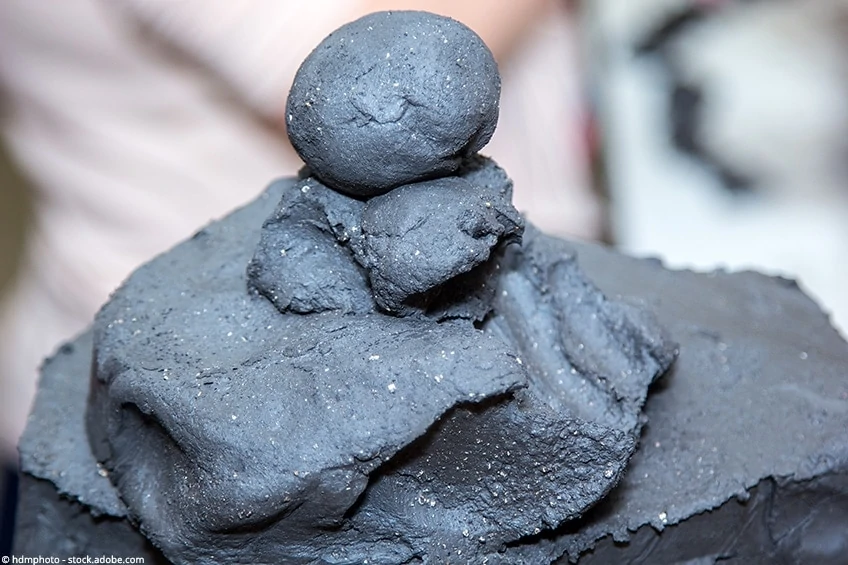
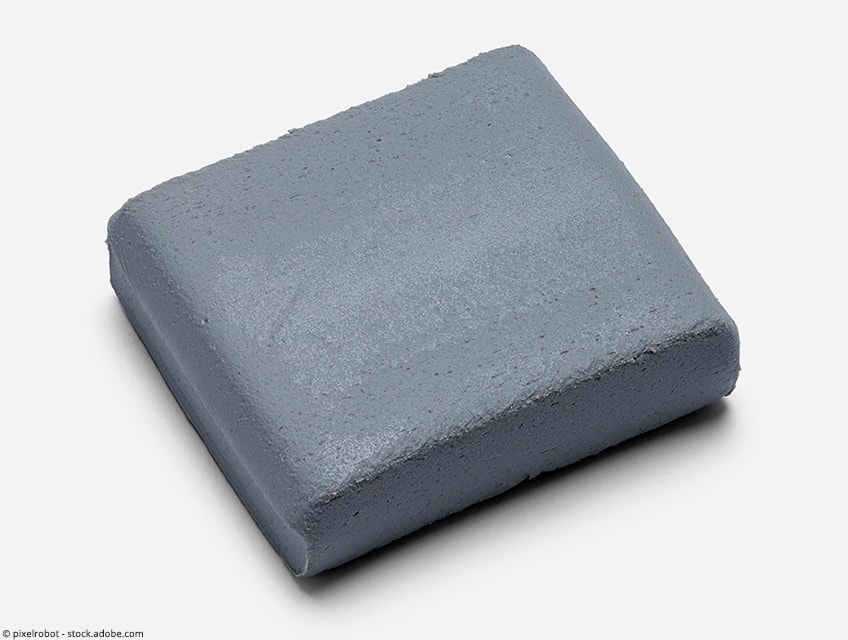
- The first step is to knead the dough thoroughly with your fingers. Do this until the color of the mixture is entirely uniform, and no more streaks appear. In this way, both components of the 2K modeling clay – resin and hardener – are bonded together. When this has been done thoroughly enough, you can feel the material heating up between your fingers.
- Now apply the plasticine to the surface you want to work on. Press it firmly enough to ensure proper adhesion. Please note that you only have a limited open time after kneading the material. This describes the time in which the material remains malleable. Once the material has hardened, it can no longer be deformed and therefore, can no longer be used as a kneading material. The open time is often only a few minutes.
- If you want to achieve the smoothest possible surface structure, you can smooth the cold metal with wet hands or a damp cloth.
- After application, the cold metal usually hardens within an hour. Afterward, it can be worked on as desired.
- Remains of the Epoxy Putty Stick that you want to store should be immediately packed airtight and stored in a cool and dry place.
Projects to use Epoxy putty for
Putty sticks can be cut and molded to the desired shape with each, and apart from that, they have contributed to the sculpting scene immensely. After drying, the formation is easy to shape with the help of sandpaper. The best brand for precision in epoxy putty sticks is Milliput and Tamiya, which follow the artist’s hands obediently.
The basic procedure to use the putty requires you to activate its stickiness and then let it settle for a bit. It is good always to line your tools with petroleum jelly to save them from the sticky bits and also use the material efficiently. By the time the epoxy putty cools down, you will have time to do so. ‘
Epoxy putty sticks can be then layered on a plastic sheet for usage. It would also help to sand the plastic a bit so that the putty epoxy sticks to it.
Now that you have a fair idea about how the epoxy sticks are to be worked with, let’s see its various uses:
Repair your Workbench
Frequently, workbenches and tables are prone to large voids and gaps that can be cured using epoxy putty sticks. You can even avoid the hassle of sanding by using a wet finger to press the putty epoxy inside the holes. This is the best choice in case of gaps caused by a lousy resin job where compounds have settled, and there can be nothing done about it.
Sculpting Hairstyles for your Figures
To make small figures or sculptures using the epoxy putty stick is a dream come true because of the ease of use. You can also enhance the existing figures and sculptures that you have and change their look with epoxy putty additions. It is excellent at holding shape and will provide help in making your creations out of the world.
Let’s see a small example of how the hairstyle of a figure can be changed using the putty. This is also an excellent way to attach a beard to your figurines.
- Take the amount of putty required for the hairstyle and press it on the head of the sculpture.
- Use a knife to shape the remaining putty and roughly set it according to the shape in your mind.
- Let it sit for a minute and then using a blade to draw the hair in the direction of the stroke for the particular hairstyle.
Make molds for Compression Molding
Press molds are easy to make with epoxy putty, and so are new pieces. Here’s the procedure:
- Line your article with some petroleum jelly.
- All you need to do is take a piece of putty and press it onto the piece for letting the impression settle.
- Do the same for the backside with another piece of epoxy putty so that you have a complete mold.
- Let it dry and then take the original piece out of the mold that is now ready.
- Line the mold with the jelly again and add some putty to it for making the new identical piece.
- Take the new part out once it dries.
- Now you can decorate and paint it as desired.
Sturdy Seat Belts for Resin Cockpits
This might sound a bit weird, but it has become a pretty famous procedure in the market, and nobody acknowledges yet. What we know is that it surely works.
- Line your surfaces and tools with petroleum jelly.
- Roll an epoxy stick on the plastic or your preferred surface.
- Using a roller, let it spread and become as thin as you would like.
- Using a blade, cut strips out of the laid out epoxy putty.
- Take a pair of tweezers to gently lift it off the surface and place it with care.
- It can also be twisted while still in Step 5, so be careful how you navigate it.
What to look for when buying an Epoxy Putty Stick
- Since it is, of course, not possible to test the cold metal on-site without opening the packaging, you should pay attention to the date on which the cold metal was packed. If this is too long ago, the Epoxy Putty Stick may be too old. Then, in rare cases, it can crumble after hardening if it is processed further. This process is possible and very annoying, especially when machining or producing a thread.
- Also, pay attention to the open time in which the Epoxy Putty Stick can be processed. Especially if you want to repair more substantial damages with it, it is advantageous to choose a higher open time so that you have more time for the work.
- You should also pay attention to the heat resistance. In our last section, we will continue with this topic.
Safety Instructions for Processing Metal Putty
Various ingredients of the metal clay can cause not only allergic reactions, but also skin, eye, and mucous membrane irritations. You should, therefore, always keep your safety in mind when working with this material.
It is best to use disposable gloves during your work. If you do not want to use them, wash your hands thoroughly with warm water and plenty of soap after working with the cold metal. Clean your skin extensively so that no residues of the plasticine remain on it.
If the cold metal has come into contact with your eyes or mucous membranes, you should rinse them thoroughly with water for a few minutes and then consult a doctor immediately. Take the packaging with you so that you can show it if necessary.


Is Epoxy Putty Stick heat resistant?
Many Epoxy Putty Stick products can withstand temperatures between -70° and +260° Celsius; others operate more in the range -40° to +120° Celsius. Some types of Epoxy Putty Stick are even heat resistant up to 300° Celsius.
It is not possible to give a general answer about the temperatures that Epoxy Putty Stick can withstand. In principle, Epoxy Putty Stick has high heat resistance. However, before buying, you should find out for which temperatures the chosen product is actually suitable, otherwise, there could be unpleasant surprises after processing.
Is Plumbers Putty the same as Epoxy Putty?
While epoxy putty hardens out within hours, plumber’s putty is staying flexible and soft. So plumber’s putty is suitable for sealing against water if you would have the flexibility to remove it easily at a later time. If you would like to know more about plumbers putty, you can have a look at the experts from plumberspot.com.
Epoxy putty gets hard as rock or plastic once cured and can’t be removed so easy. So it is more suitable to repair cracks in tubes, where you have a good amount of pressure on.
If you would like to make mainly small repairs with a high strength, you should definitely consider Epoxy Putty Stick. It is not only suitable for cracks and crevices in the material, but also for wrong drillings and for durable connections of different materials. Apart from that, its processing is very simple.
