UV Resin Guide – How to Create Beautiful Things With a UV Resin Kit
This post may contain affiliate links. We may earn a small commission from purchases made through them, at no additional cost to you. You help to support resin-expert.com
Resin is one of the most popular creative mediums of the day thanks to its versatility and beauty. If you have ever wanted to create something crafty with UV epoxy but you simply do not know where to start, then you have come to the right place! In this article, we lay out everything you need to know about UV Resin, including what it is, and what it can be used for. In our UV resin guide, we give you all the best tips and tricks for using and curing UV epoxy and help you find the best place to buy a UV resin kit.
Table of Contents
What Is UV Resin?
UV epoxy resin is a part of the broader resin family, but it has a few unique differences. Traditional forms of resin require the mixing of two parts, the resin itself and a hardener. This resin cures naturally over around 24 hours and over time it can begin to lose its clarity and start to yellow. New technological advances in the resin field have led us to UV epoxy, a synthetic resin type that does not require mixing.
UV resin comes ready-mixed and dries in a matter of minutes under a UV resin curing light. While you can pour traditional resin quite thickly, UV epoxy needs to be applied in only thin layers, that need to be dried before applying more. UV resin holds its clarity for a long time, allowing your creations to shine and sparkle forever. Compared to other resin types, UV resin can be a little more expensive and tends to be sold in smaller quantities. Here are some pros and cons of using UV resin.
Pros
- Fast curing
- Ready-mixed
- Long processing time
Cons
- Short shelf life of approx. 6 months
- It is more expensive
- UV resin can only be used for very thin layers
- A special UV lamp is required for curing
What Can You Use UV Cure Resin For?
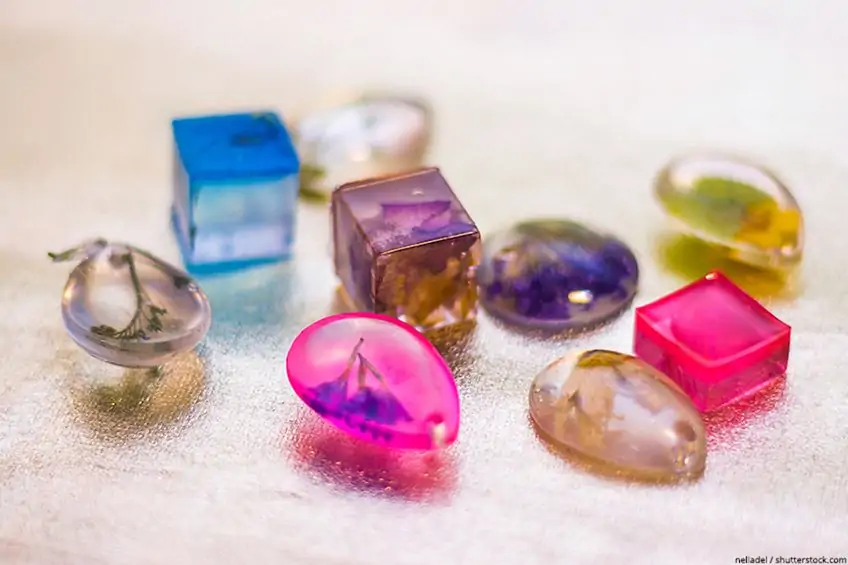
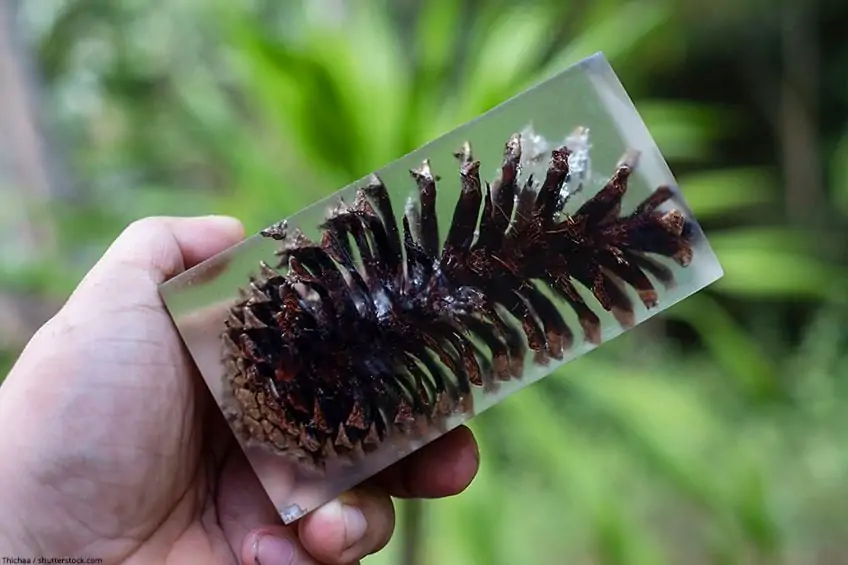
The most common use of UV epoxy is with smaller projects like jewelry. If you are looking to create pendants or earrings, then UV resin is definitely your best option. You can also use your UV resin kit as an adhesive, thanks to its durability and quick curing time. You can create beautifully crystal clear pieces of jewelry with easy UV cure resin products.
Hard or Soft UV Cure Resin
As with all traditional forms of epoxy resin, UV resin is available in either hard or soft form. Soft form UV epoxy has more of a jelly-like consistency when cured. In contrast, hard UV cure resin cures like hard plastic. If you are working with jewelry pieces with embedded items, then a hard UV epoxy is your best bet.
The hard resin has a glass-like finish, and sometimes the softer options can be tricky to cure completely.
Our Recommendations for the Best UV Resin Kit
There are so many different UV resin kit options available, and the one that you choose will depend on the price you are willing to pay and the type of application you need. We have created a list of three different UV resin kits for you to choose from. All of them are of high quality and are easy to use.
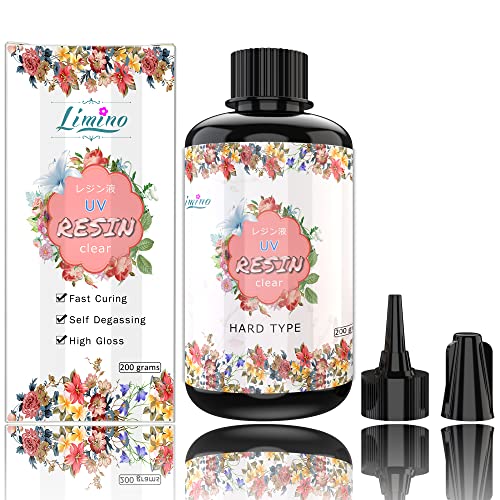
Our Top UV Resin Kit Choice: LIMINO UV Resin
The real selling points of this UV epoxy are the incredibly high quality and the crystal clear transparency it provides. As with many UV resin brands, there is no need to mix anything, you can simply pour in the epoxy resin and set it straight away. With a 36W UV light, you can instantly cure Limino resin in a few minutes. The bottle comes with an easy-to-apply spout, you simply need to aim and squeeze. The resin is self-leveling and has self-degassing properties too, meaning you will be left with a seamless finish without any air bubbles.
- High-quality UV resin is self-leveling and self-degassing
- The resin is non-toxic and dries to a beautiful glossy finish
- Does not yellow over time and cures to a hard consistency
PROS
- Non-toxic and safe for use
- Does not yellow over time
- Self-leveling and self-degassing
- Produces a glossy finish
- Suitable for use with many substances
CONS
- Does have an odor while wet
Our Budget-Friendly UV Resin Kit: DECOR ROM UV Resin
This easy-to-use UV epoxy kit cures instantly with UV light or even sunlight. The finish is crystal clear, glassy, and very hard. Your final product will be scratch and stain-resistant, and will not be yellow over time. The UV cure resin levels itself and produces very few bubbles. The resin is made with high-quality materials that are non-toxic and friendly to the environment. You can use this UV epoxy for many different things, including jewelry, paintings, and garment accessories like buttons.

- UV resin requires no preparation and is ready to use right away
- Ultraviolet resin cures to a crystal-clear, glassy finish
- Provides excellent scratch, stain, and yellowing resistance
PROS
- Quick drying
- Does not yellow or stain over time
- Cures to a high-gloss finish
- Resistant to scratches
- Cures under UV or sunlight
CONS
- Has a strong odor when wet
Our Beginners UV Resin Kit: LET’S RESIN UV Resin
This affordable set of 10 resin colors is the perfect option for those wanting to begin exploring the world of UV resin. The resin is made of environmentally friendly ingredients and the epoxy does not have any smell before curing. The set comes with 10 different colors which can be mixed to create an even broader spectrum. This UV resin kit is perfect for a range of different applications, including jewelry, figurines, and other small projects.
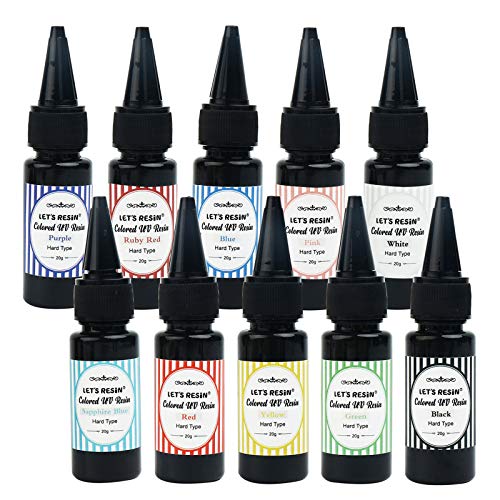
- This kit from Let's Resin comes with 10 different colors
- No need of using mixing caps, spatulas and other tools
- Dries hard with UV light or sunlight to produce a glossy finish
PROS
- Comes in 10 different colors
- Does not have a smell before curing
- Affordable
- Environmentally friendly
CONS
- Of lower quality than other options
UV Resin Guide: How to Create with UV Epoxy
So, you have your new UV resin kit, and now you want to start creating. Here, we provide you with a detailed tutorial to help you create stunning and seamless pieces of jewelry. If this is your first time working with UV epoxy, then we suggest following the steps quite closely. UV resin can be quite a tricky medium to work with, but in many ways, it is easier than traditional epoxies which dry as you are working.
First, you need to gather all of the necessary tools and supplies and set up your work area. It is always a good idea to protect your work surface by laying down either some newspaper or a plastic sheet. This will prevent any mishaps and resin spills on your surfaces. Here are some suggestions for the basic things you will need to work with UV resin:
- Your UV resin kit
- A UV light
- A resin palette
- Mixing sticks for coloring
- Your soft silicone mold
- Pigments, glitter, flowers
- Tweezers
How to Stay Safe when Using UV Resin
UV resin is objectively quite a safe medium to work with, but there are a few things to consider in order to protect yourself fully. Before it has been cured, UV epoxy can produce some nasty fumes, so we suggest always wearing a mask and working in a well-ventilated area. It is also a good idea to wear gloves when working with UV cure resin, as it can be a painful process cleaning cured resin from your skin.
Lastly, it is always a good idea to wear some form of eye protection, for those accidental spills.
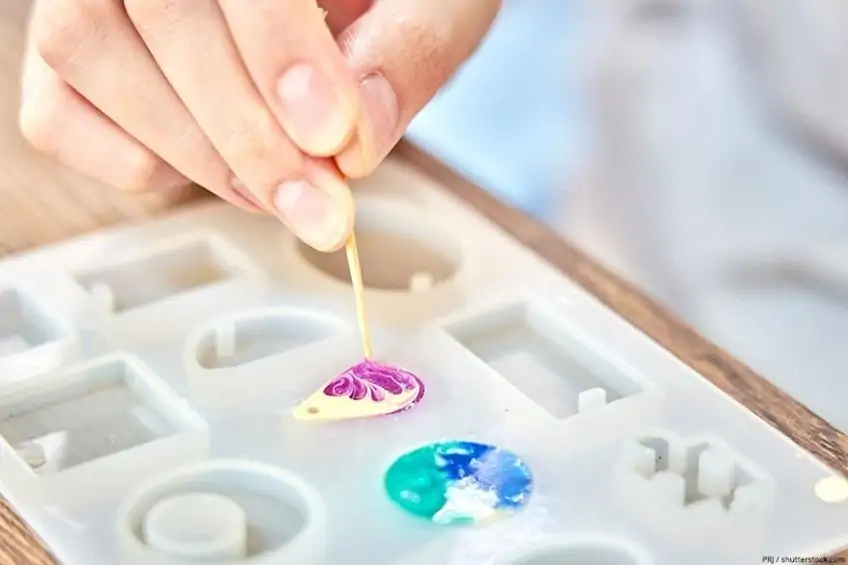
Preparing Your UV Cure Epoxy
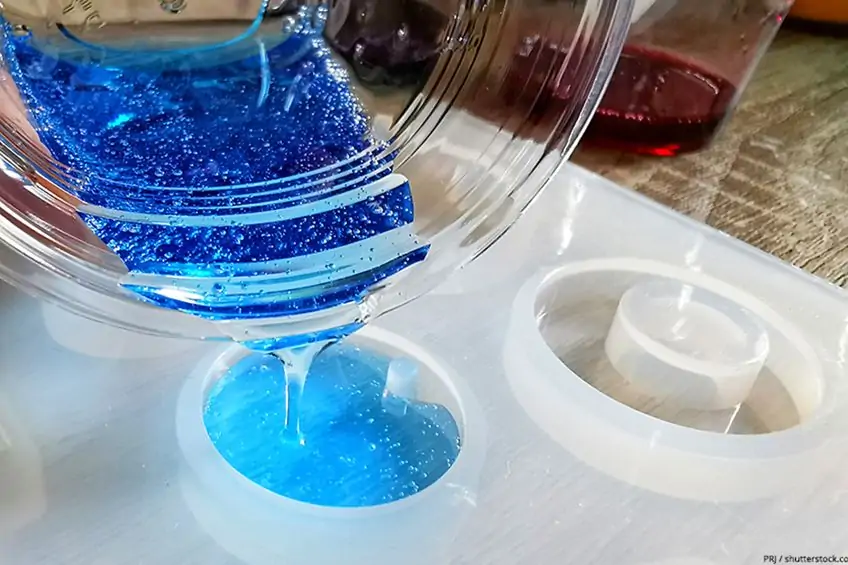
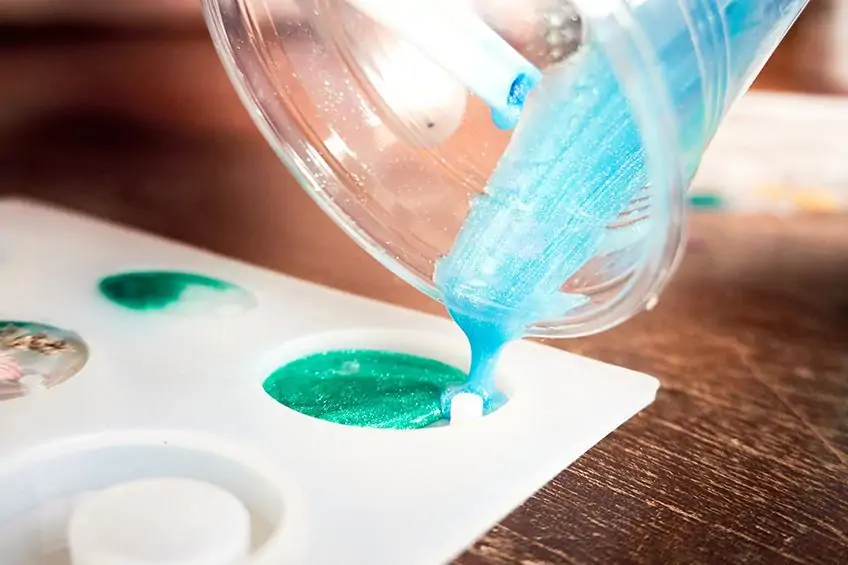
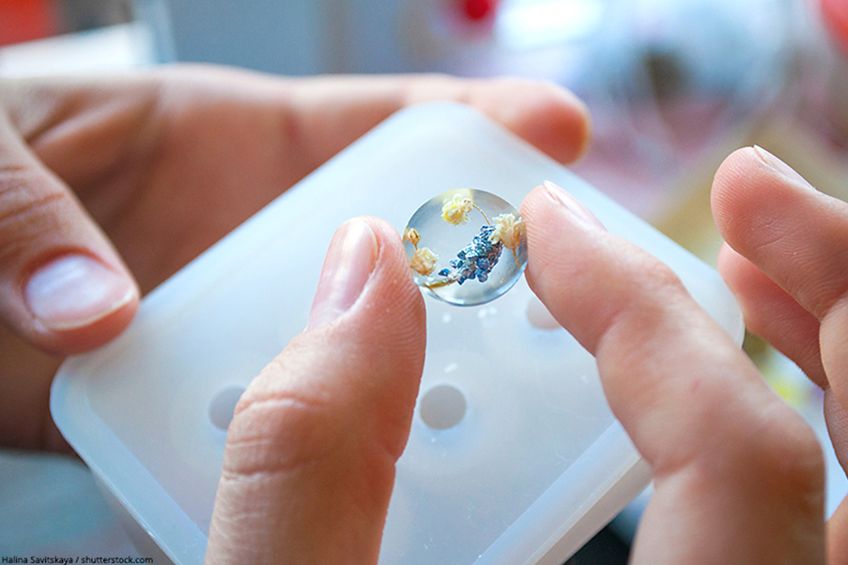
At this point, you need to decide what you are going to be using in your work. Are you going to make a beautiful UV resin pendant with a dried flower embedded inside? Or are you going to add a touch of glitter or pigment powder to brighten it up? If you are adding a pigment or glitter, you can simply mix it into your UV epoxy in a plastic cup before pouring it into the mold. If you are adding an item to the resin, it is a good idea to pour a thin layer of resin in, embed the item within this, cure this layer, and then continue to build up your resin.
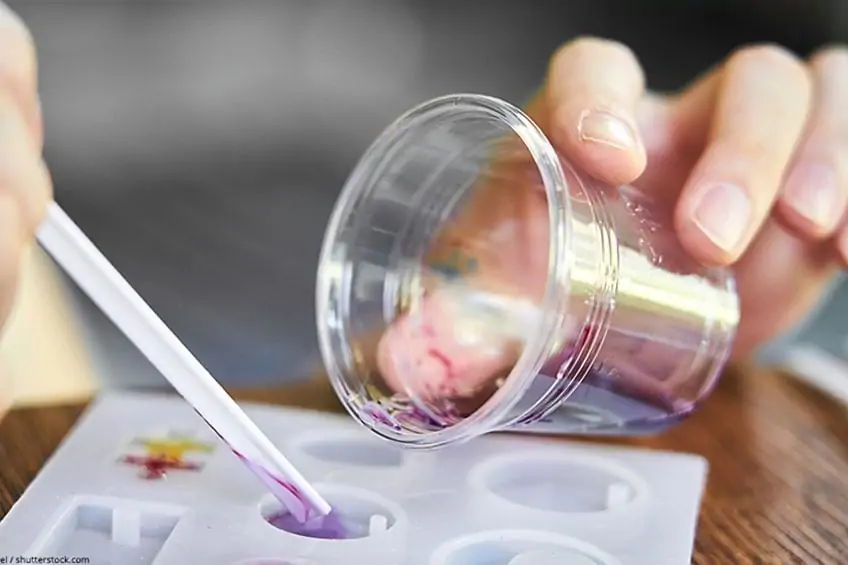
When you are ready to pour your epoxy into the mold, you can carefully add it in. If your piece needs to be thicker than 3mm, you will need to do this process in a few layers. Make sure that each layer is no more than 3mm thick.
Getting Rid of Bubbles in Your UV Resin
One of the biggest problems that many resin artists face are bubbles in your art piece. Compared to traditional epoxy resin, UV epoxy tends to have far fewer bubbles. You can see from our recommendations, that most UV resin products are self-degassing. Although these products are formulated to avoid as many bubbles as possible, there is always a chance that you will get a few here and there.
Fortunately, it is much easier to remove bubbles from UV resin than from traditional resin. The reason for this difference is the drying time.
Traditional resin dries on its own, so it is a race against time to pop the bubbles before the resin hardens. With UV resin, you have all the time in the world to remove the bubbles before curing the piece. We have a few tips to help you avoid as many bubbles as possible and to remove them if they do occur. Firstly, to reduce the risk of bubbles forming in your UV epoxy piece, you should work with only thin layers at a time. With less volume, there is less space for bubbles to form.
The second thing that you can do is to use a hairdryer or a heat gun to encourage the bubbles to rise to the surface and pop. When working with heat and epoxy, remember to protect yourself from the fumes by wearing gloves, a mask, and glasses. Do not hold your heat over your resin for too long, it should only take a few seconds. Also, be wary of using the highest heat setting, you should always stick to the minimum possible. Vibration can also help encourage bubbles to rise to the surface and pop!
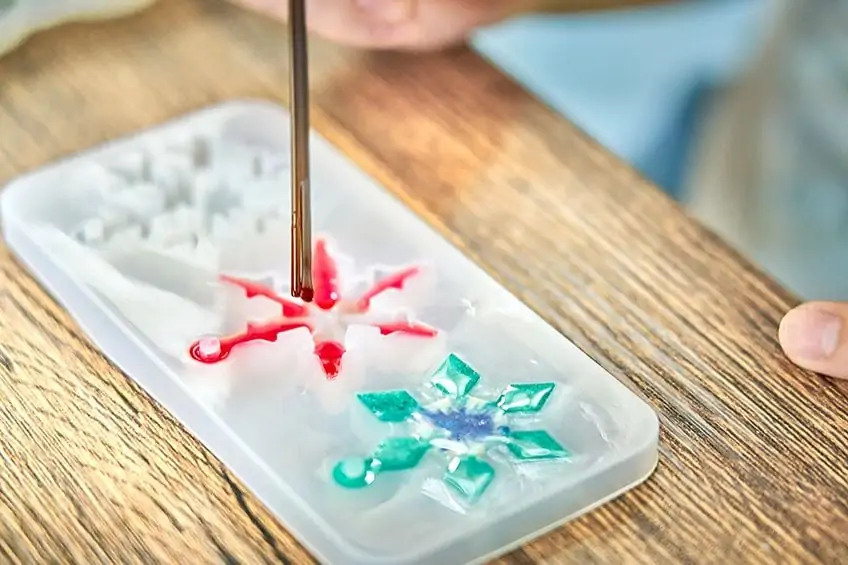
Once you have heated your UV resin piece, let it sit for a few minutes before checking to see if there are any new bubbles rising to the surface. Be careful to also be vigilant of your embedded items, as bubbles can form below them. Always press them down flat into a very thin layer of resin.
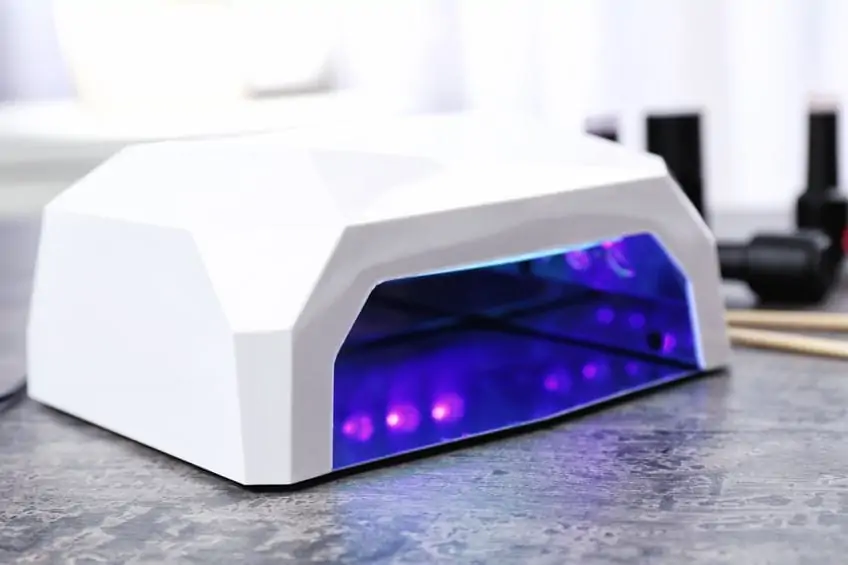
Curing Your Piece with a UV Resin Curing Light
This is where things get interesting. You now need to use your UV resin curing light to set each layer of 3mm. You can get lamps that stand on their own or a UV torch. Place your UV epoxy piece right below the UV light for a few seconds. You can then repeat this process for a few more layers until you have your finished product. Between the layers, you can gently prod the piece with a toothpick to see if it is hard.
When you are done, you can gently remove your crystal clear UV epoxy pieces from the silicone molds and admire your hard work!
Things to Consider When Using a UV Resin Curing Light
When you want to use a UV light to cure resin, there are several things that may affect the speed and quality of your cure. Firstly, you need to consider the power of your lamp in relation to the size of your UV epoxy pieces. We suggest investing in a UV lamp that has plenty of space below it so that you can fit pieces of different sizes and shapes. It would also be good to have room to cure a few different pieces at the same time. These UV lights will have a higher power output which makes them more practical to operate.
UV Resin Torches
Although you can find many UV torches online, we do not recommend them over lamps. It can be tiring and tricky to hold a flashlight over your piece for the necessary time. There is also a risk of UV exposure with a UV torch, as the light is not encapsulated by a housing. UV torches can be tedious to hold by hand, they also tend to have less power. The lack of power can reduce the speed of your cure and prolong your exposure to vapors.
The ideal power outage should be at least 4 watts.
Curing time
Although most UV resin kits will say that the resin cures in minutes, this is a little vague and variable. There are several factors that can affect the time it takes for your UV epoxy artwork to cure fully. The ambient temperature and humidity, as well as the size, thickness, and embedded items within your resin, will determine how long it takes to cure. For smaller jewelry pendants, you can expect between 120 and 180 seconds to cure a single 3mm layer. For larger pieces, or if you use thicker layers, this time can be twice as long.
Problem-Solving Tacky UV Resin
Sometimes, particularly as a beginner, you may find that your UV epoxy remains a little tacky even after the curing process. There are a few different potential causes of this phenomenon. Firstly, you may find that you simply have not cured your piece under the UV light for enough time. The curing time for UV cure resins can vary on the particular brand that you are using. Sometimes, your resin can remain tacky for a couple of minutes following curing, but it typically rectifies itself.
If, however, it does not harden within a few minutes, try placing it under the UV light for a little longer.
Lack of sufficient cure may also be the result of too much pigment in your resin. As we outlined above, the products you decide to use within your UV cure resin can change the curing time. If your pigment is not thoroughly mixed into the resin, or you use it slightly too much, you may find that you struggle to achieve a hard finish. Opaque or darker pigments can extend the curing time significantly, so if you are using a black or very dark color, you will need to cure your piece for a longer time.
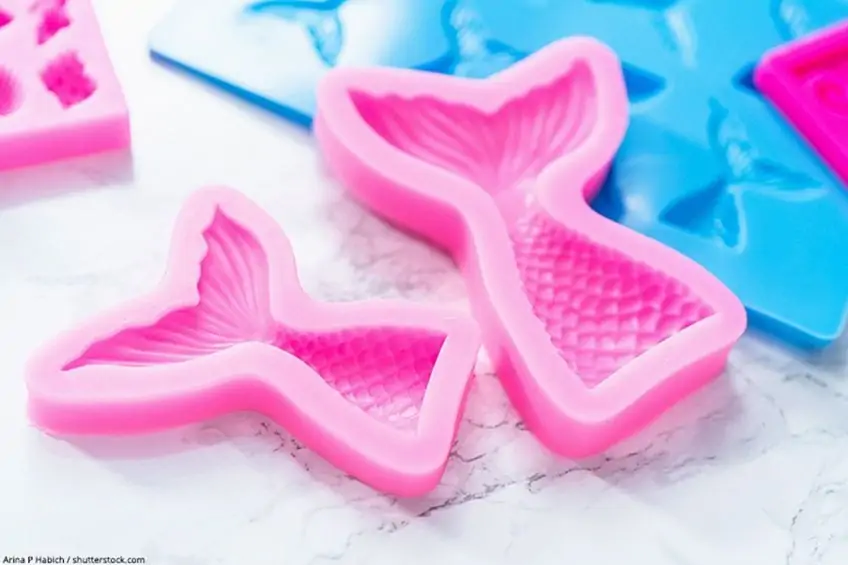
Another possible cause of un-cured resin is the mold you choose to use. As you are curing your UV resin with light, it is essential that this light can penetrate the mold. Try to use transparent molds as much as possible, so that you are not blocking the light from your UV epoxy.
Finally, it may simply be the case that your resin is too old and has passed its expiry date. UV resin has a relatively short shelf-life of 12 months. Old resin can be difficult to cure fully, so try to always use up your product before it expires.
Can You Cure UV Epoxy in the Sun?
Technically, the sun is a source of UV light which suggests that you could cure UV epoxy with sunlight. In theory, this is entirely possible but you would need direct sunlight on uncovered pieces. You are likely to have little things blowing into your uncured resin.
The UV rays in sunlight are also not as concentrated as they are in UV lamps, so you may have to wait a long and undetermined time for your pieces to cure fully.
Tips and Tricks for Working with UV Resin
Even with all of the information in the article so far, it can be tricky to use UV epoxy for the first time. As such, we have set out some helpful tips and tricks to help you in your new UV resin adventures.
- Pour only thin layers of resin at a time and be patient. This largely prevents the formation of air bubbles. If air bubbles should nevertheless appear, they can be removed with a hot air blow dryer.
- To remove air bubbles, move a hairdryer quickly over the resin and never stay in one place for more than 1 to 2 seconds.
- Try to set the embeddings down flat, press them firmly into the uncured resin.
- For safety, remember to wear safety glasses, gloves, and a face mask and work in a well-ventilated room.
- The temperature of your room can affect your UV epoxy process as an acrid odor is quickly produced when too much heat is applied. Therefore use as low temperatures as possible with a hot air dryer.
- Pay attention to the embedded objects. All objects you add to the resin can promote the formation of air bubbles.
There is a big world of exciting and beautiful artistic opportunities encaptured in UV resin. Now that you know how to find the best UV resin and you have all the tips and tricks necessary, you can go out and create your own unique works of UV epoxy art.
Frequently Asked Questions
How Many Watts Do You Need to Cure UV Epoxy?
You need at least 4 watts to cure your UV Resin. You can use a lamp for nail curing or a UV LED flashlight.
Can You Color UV Resin?
You can use all colors, which are usable for normal epoxy resin. Just give a little drop of resin color or pigment into your UV resin and mix it really well.
What Can You Embed in UV Epoxy?
You can easily embed a wide range of different items in UV resin, from flowers to shells and other trinkets. The world is your oyster when it comes to what you can do with UV epoxy.
What Is UV Resin?
UV epoxy differs slightly from traditional resin in a number of ways. UV resin does not need to be mixed and it does not dry on its own.
