How to Paint Pinewood – A Tutorial on Painting Pinewood
This post may contain affiliate links. We may earn a small commission from purchases made through them, at no additional cost to you. You help to support resin-expert.com
Most people see wood as a fairly uniform medium. The truth is that wood is an incredibly diverse material, and the process of treating and coating it can vary by species. It is important that you understand the characteristics of the woods you are working with and exactly how to paint, varnish, and treat them. Painting pinewood can be particularly tricky if you don’t know what you are doing, so let’s have a look at just how one goes about painting pinewood.
What Is the Trouble with Painting Pinewood?
Pinewood is one of the more challenging woods to deal with. Now, you might be thinking that this is because it is super hard or simply cannot be coated to paint, but this is not the case. Pinewood is a conventional hardwood procured from the pine tree (in case you didn’t know) and it is actually quite a soft wood, which makes it just a pleasure to work with, especially when using hand tools.
Therefore, many woodwork hobbyists and professional carpenters have spent countless hours passionately carving out intricate workpieces with this material.
The reason it can be tricky to paint is related to its unfortunately knotty nature. When pine is cut into shapes for kitchen tables, dressers, chests, and coat hangers, these knots can make the process of coating them in virtually anything a big problem.
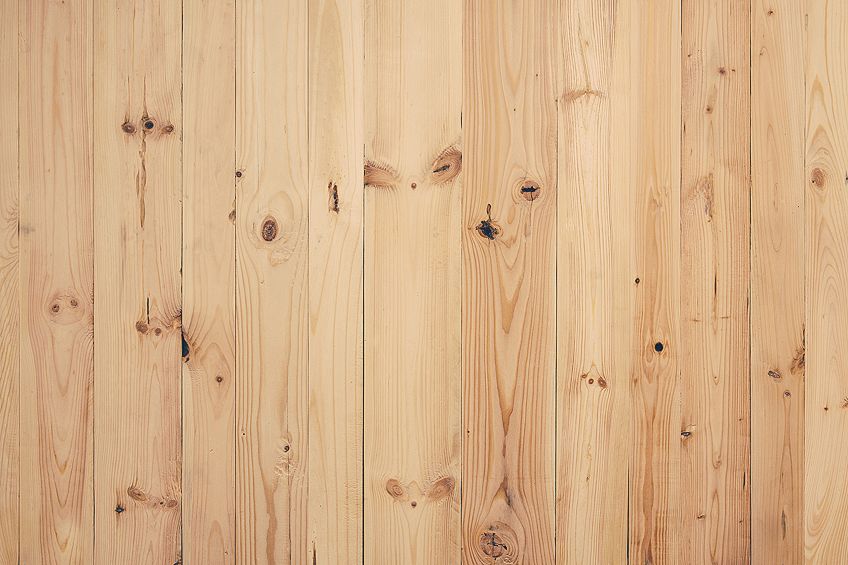
Why, you might ask? Because these knots create both unwanted recesses and un-flush work surfaces, which make applying most coatings quite a challenging task, not to mention that they can become saturated with paint or primer. Unfinished pine is by far not the worst wood you will come across – it simply requires a bit more effort to prepare before a coating can be applied to it.
Adding difficulty to this is the fact that not all paints work well on this type of wood. This isn’t to say that most commercially available paints won’t adhere to the surface, but some paints will adhere far better and therefore result in a much better finish than others.
There are a handful of paint types that objectively work better on unfinished pine, so for your convenience, we have selected a few that have a good track record and/or positive reputation among both professional craftsmen and weekend warriors.
Which Paints Work Best When Painting Pinewood?
As we have covered previously, you could pretty much use any type of paint on pinewood and achieve serviceable results. This being said, here is a list of paints that can be used on pinewood, although it is worth mentioning that many of these paints might only adhere to pinewood if a primer has been added, as this will greatly improve the quality of adhesion and the finish.
| Type of Paint | Does It Work on Pinewood? | Is Primer Recommended? |
| Acrylic Paints | ✔ | ✔ |
| Oil Paints | ✔ | ✘ (typically) |
| Water Paints | ✔ | ✔ |
| Enamel Paints | ✔ | ✘ |
| Latex Paints | ✔ | ✘ |
| Chalk Board Paints | ✔ | ✔ |
Recommended: KRYLON COLORmaxx Spray Paint and Primer
One of the most reputable brands on several continents, Krylon has given us some of the best aerosol paint products on the market today, and the COLORmaxx is no different. Krylon’s COLORmaxx is the latest innovation from the brand and makes painting with an aerosol can easier, faster, and far more efficient than competing brands.
This new formula is a combination of paint and primer, which when working with pinewood can save you valuable time during the preparation process. Waiting for a primer to dry can cost you hours that you might not have, especially when you consider how time-consuming and labor-intensive both sanding and filling pinewood can be.

- Delivers premium coverage and color with adhesion and durability
- Easy-push button spray tip helps you spray in any direction
- Can be used on wood, metal, wicker, most plastics, glass, and more
The benefits of COLORmaxx don’t end there though. This paint can be used on a variety of surfaces and when applied can provide both minor UV protection as well as protection against rust for your metal surfaces. You might notice that the COLORMaxx has a pretty big spray button, and this is completely intentional. The big spray button allows you to spray equally as well at any angle without the risk of your finger slipping and releasing pressure.
Saving you even more time, the COLORmaxx line also has an incredibly fast dry time of ten minutes, which means that once your wood is dry, you can re-sand and apply your sealer in virtually no time at all. For some added value, this range of products can be purchased in a six-pack, which could contain either a variety of colors or six of the same color, depending on your preference.
PROS
- Effective
- Versatile
- Dual purpose
- UV-resistant formula
- Good color selection
CONS
- Unit price is high
- Color quality can vary
- Unit volume could be better
How to Paint Pinewood – Complete Tutorial
There aren’t any special techniques when painting pinewood, although there are a few steps you should take in the preparation process to ensure your pinewood receives the proper finish. Following these steps will ensure that your paint adheres to your pinewood well so that it doesn’t ruin your workpiece, and more importantly, does not waste those precious hours re-coating it. Here are a few steps you can follow to ensure that your pinewood workpiece is painted without incident.
Sand It Down
Sanding is by far nobody’s favorite chore, but sanding down pinewood, in particular, is extremely important to the preparation process. Pinewood naturally has some pretty dense spots on its surface and in the grain of the wood, which can make it challenging to cut and treat with coatings like primer or resin.
You have the choice of either using a power sander, sandpaper, or a combination of both.
We recommend the latter as using the power sander to sand down large surfaces means less elbow grease on your part. Once your primary surface has been sanded down, you can use some fine-grit sandpaper to take down the edges of the workpiece. Remember to wipe away any excess wood/dust with a simple cloth, and if you have access to compressed air, you can give your workpiece a once-over with this as well.
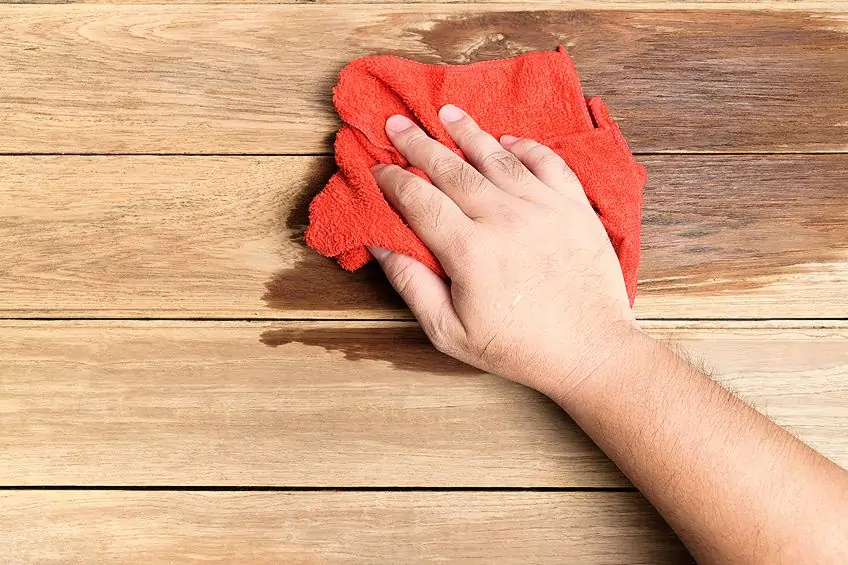
Treat the Wood’s Surface
Treating the surface of your wood is a good idea. Remember those pesky knots we covered earlier? Well, besides needing to be filled in every once in a while, they also have the potential to hold a type of sap that pinewood is known for. Pinewood might be a softer wood, but this is because it is fairly rich in nutrients that are stored inside the pores of the wood.
This kind of sap is present in most commercially sold unfinished pinewood, and you will need to draw it out of the pores of the wood before you take your next step.
A simple way to get this done is to use benzol (alcohol solution) and apply it lightly to the surface of the wood. Then, once it has dried up, wipe down the surface of the wood one more time with a clean cloth. This process will remove any residual sap left in the wood’s pores and treat any darker spots created by knots in the wood’s surface, which may affect its look once the wood has been painted.
Fill in Any Gaps
This is a fairly simple process. Unfinished pinewood can be porous in certain places, which can make it hard to paint and prime. Getting your hands on some simple wood filler takes care of this problem pretty quickly. Taking your wood filler, simply fill in the gaps.
You can overfill them slightly to ensure that there is more than enough filler in the recesses once it has dried.
How you do this is entirely up to you – if your filler comes in a container, you can use a gloved finger and fill the spaces, or if you have opted for a syringe filler and don’t like getting your hands full of wood putty, you can use this method too.
Once all of your holes and scratches have been filled, allow the filler to dry in place as per the manufacturer’s advised time. Once it has set completely, you can begin sanding down any excess filler until the surface of your workpiece is flush. Once completed, use a clean cloth to wipe off any filler residue created through the sanding process.
Prime Your Surface
One more step before you get to painting pinewood! Priming your workpiece will allow the paint to adhere to the surface a lot better than simply going at it with raw paint. There are different types of primers for various types of paint, a good example is using linseed oil as a primer when using oil-based enamel paints. Although oil-based paints are great at absorbing into the fibers of most woods, you will lose some color intensity if you decide not to use a primer when working with this type of paint.
This being said, you should always check which primer is best suited to the type of paint you are using before purchasing it, even more importantly ensure that the primer you are using is compatible with the species of pinewood you have.
Speaking of which, you might have toyed with the idea of simply staining your pinewood instead of painting it, which is not a bad idea considering that the natural hue of most pinewood is pretty appealing. A good compromise is using a paint that is just slightly darker than the wood’s natural color. Apply two coats of primer, allowing them to dry for the time recommended by the manufacturer in-between coats.
Looking for a good primer? The guys over at Rust-Oleum have you covered with their flat grey primer for pinewood products, which is super effective and great value for money.
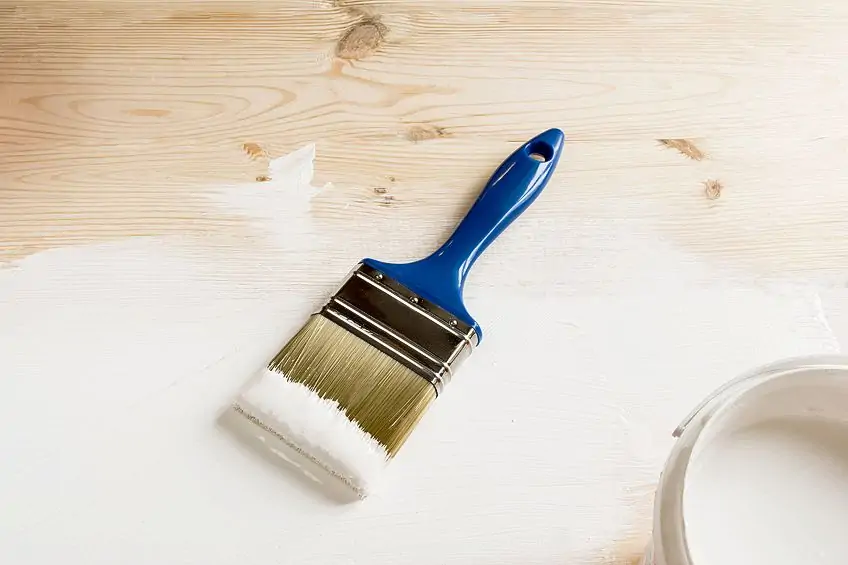
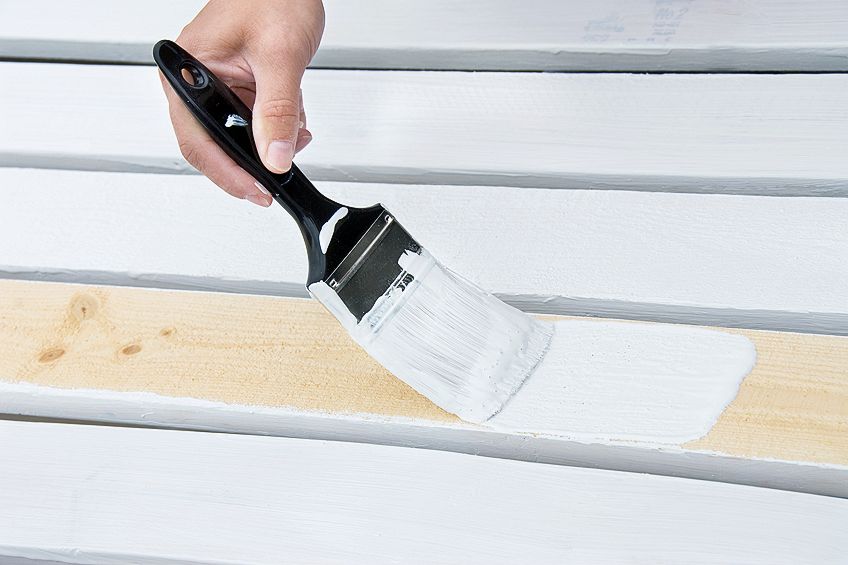
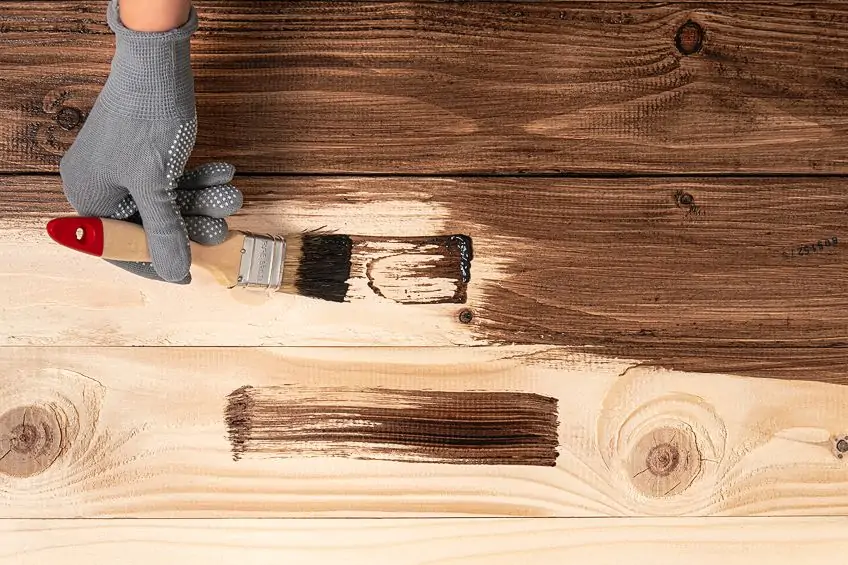
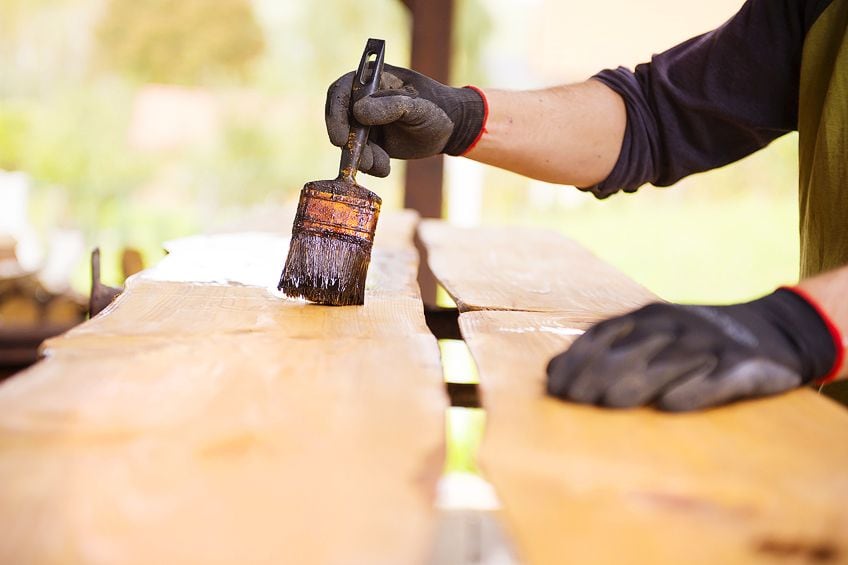
Painting the Surface
It is finally your time to shine! Now that your surface has been prepared, you are finally ready to start painting. Load up your paintbrush or paint sprayer with your weapon of choice and take aim. Choosing what type of paint to use can be frustrating as there are lots of good paints on the market today.
The budget-friendly option is typically water-based latex paints, which adhere pretty well with the right primer (you might need to go for three or four coats if no primer has been applied), or if you want to splurge a bit and get a premium finish, you could go for an oil based-paint, which will leave you with a nice sheen finish.
If you don’t mind some unsolicited advice on spraying technique, you can get pretty close up to your workpiece when working when painting pine – making seamless passes from left to right (or vice versa) at medium speed will ensure good coverage.
Depending on your preference you can go for either two or three coats, allowing a few hours in-between each coat for the paint to dry.
If the paint feels a bit rough in-between coatings, don’t be afraid to get some sanding paper and remove the excess. This largely depends on the type of paint you are using, but if you encounter this issue remember to wipe down your workpiece with a clean cloth before applying your next coat.
Finishing Your Masterpiece
It is very easy to get caught up in the process while painting pine, however, you should not forget to add a sealer once you are done. Pine is a softer hardwood, which means that it can scratch and dent relatively easily. There are many sealers available and depending on the look you want (and your budget), the possibilities are endless.
Painted pinewood does look quite beautiful, but allowing these woods to be ravaged by the weather won’t work out in your favor. Therefore, it is always recommended that painted plywood be sealed as soon as your final coat of paint has dried. Remember to clean your workpiece before you begin applying your sealer.
If your workpiece will be situated outside most of the time, you should aim for a waterproof and/or heat-resistant sealer. This will not only save your paint job from being ruined but will also ensure that your wood does not become saturated with moisture or warped by intense sunlight/humidity.
Some sealers work better with certain brands, but the brand of paint you choose probably has a sealer for that paint under the same brand. Therefore, sticking with one brand of products for a particular workpiece could potentially work in your favor later on.
Two coats of sealer should get the job done, and as usual, allow for the manufacturer’s recommended drying time between coatings, in addition to sanding down and cleaning off your surface in this interval where you deem necessary.
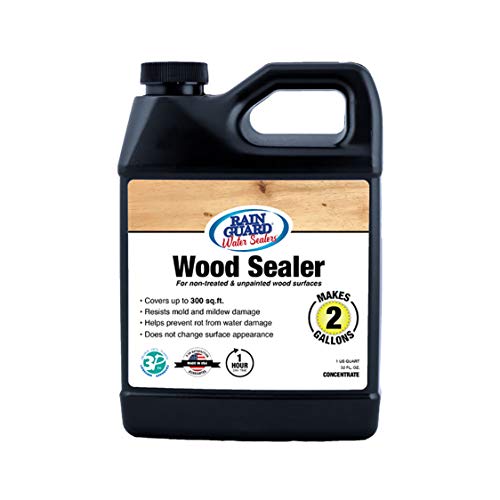
RAIN GUARD Water Sealers Wood Sealer Concentrate
Painting pinewood furniture can be a bit tricky, especially when you consider how much time and effort needs to be put into the preparation of the wood. Imagine all that time you spent filling in those holes, sanding and priming your surfaces going to waste and your wonderful finish being ruined by a little bit of rain.
Depending on how active your imagination is, the horror of this thought can vary. Thankfully, we have products like Rain Guard water sealers that prevent water damage and so much more. Rain Guard is a heavy-duty outdoor wood sealer that will protect everything from your carefully crafted workpieces to heavily trafficked wooden areas like your front porch from being destroyed by moisture.
- Prevents surface damage from rain, snow, ice, and efflorescence
- Does not alter surface appearance and will not leave a surface film
- Contains advanced UV stabilizers to ensure non-yellowing surface
Rain Guard’s formula is extremely versatile, lasts long, and does not change the finish of a wood’s surface at all. This means that you won’t have to worry about your carefully crafted finish being ruined by a crude sealer, but the benefits of this product don’t stop there. Not only does Rain Guard protect your paint job, but it also prevents your wood from swelling due to moisture and splitting from excessive exposure to heat.
Rain Guard’s proprietary formula is also UV-resistant, which means that you won’t ever have to worry about your paint job fading, or if you have chosen to strain your wood, you will never have to worry about the surface discoloring in the future! Rain Guard makes painting pinewood furniture easy and protecting it stress-free.
PROS
- Versatile
- Waterproof
- Heat-resistant
- UV-resistant
- Large-volume
- Works on all woods
- Does not affect your finish
CONS
- Expensive
- A big container can be hard to manage
- Becomes thick when completely set
- Odor can be quite strong
Now that you know what makes painting pinewood challenging, how to paint pinewood, what types of paint work on pinewood, and what one of the best sealers for pinewood are, it’s time for you to go out and test your newfound knowledge. Remember to always work in a well-ventilated area, always wear the appropriate safety gear, and practice safety first!
Frequently Asked Questions
Is Pinewood a Hardwood?
Although most people consider pinewood to be hardwood, it is classified as softwood. This does not mean that pinewood is super flexible though, in fact, it is quite rigid. This being said, pinewood can be relatively robust, but due to other woods being more conducive to construction and load-bearing purposes, pinewood is rarely used for these purposes.
Can I Paint Pine Furniture?
Yes, you can. There are many instructional videos online regarding how to paint pinewood, but you should always ensure that your wood is prepared correctly in order to avoid disappointment. Pinewood can be a tricky material to work with for the uninitiated, therefore do as much research as possible about the species of pine wood you have and what the best practices are for preparing it.
Is Pinewood Durable?
Pinewood is not as strong as hardwoods like oak, but it is stiff enough to be used as furniture without having to worry about it literally falling apart underneath you. Pinewood makes for incredible living room furniture, bed frames, cupboards, and interior flooring.